Adding textured surfaces to ride-on toys is a simple, effective way to boost your child’s sensory development. You can create a sensory path with materials like rubber tiles, foam mats, or textured vinyl, which provide varied tactile feedback and promote motor skills. Proper installation guarantees safety and durability, while customizing with colors and shapes keeps play exciting. Want to discover easy tips for building and customizing your own sensory path? Keep going to find out more.
Key Takeaways
- Texture paths enhance sensory exploration, promoting tactile awareness and motor skills development on ride-on toys.
- Materials like rubber tiles, foam mats, and textured vinyl are durable, safe, and easy to install.
- Proper surface preparation ensures secure attachment and longevity of the sensory upgrade.
- Creative customization with colors and textures boosts engagement and imaginative play.
- Using weather-resistant and safety-compliant materials ensures a cost-effective, long-lasting upgrade.

JUEOQOY Liquid Sensory Floor Tiles for Kids Ages 3+, 12" Step-On Tiles with Non-Slip Base, Interactive Color-Flow, Assorted Colors, Sensory Path Starter Set (4-Pack)
Color Swirl Play: This 4-pack of 12-inch liquid sensory floor tiles features swirling multi-color liquids that shift with…
As an affiliate, we earn on qualifying purchases.
As an affiliate, we earn on qualifying purchases.
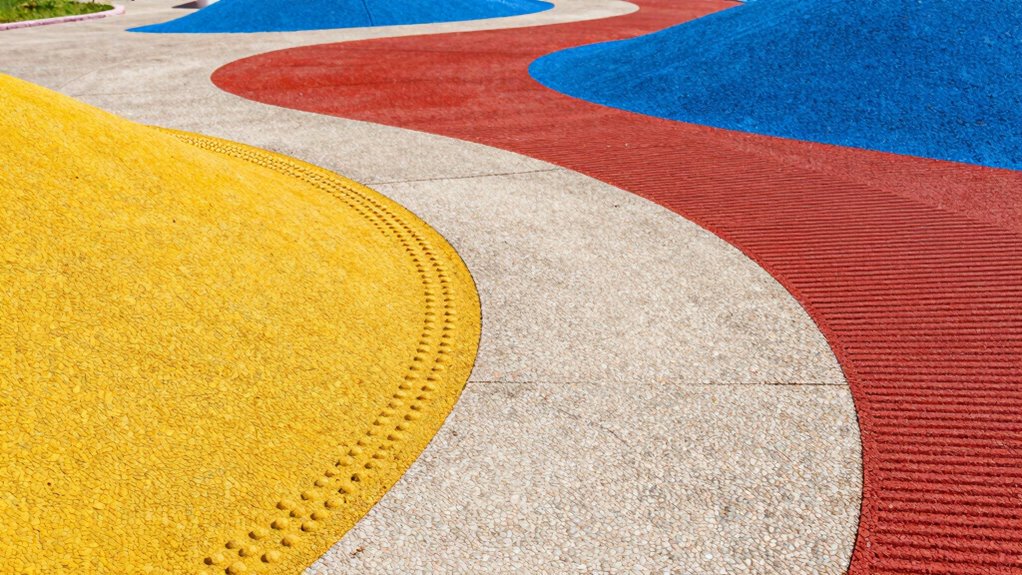
Why Texture Paths Are a Fun and Simple Sensory Boost
Texture paths offer an easy and engaging way to enhance your sensory experience. As you navigate different textures, you stimulate your senses, making every ride more interesting. These paths encourage sensory exploration by exposing you to varied surfaces like bumps, rough patches, and smooth areas, helping you discover new tactile sensations. Incorporating varied surfaces can also promote neuroplasticity, supporting the brain’s ability to adapt and learn through sensory input. This process also supports motor development because you actively adjust your movements to match each texture, improving coordination and balance. With minimal setup, texture paths turn ordinary rides into opportunities for learning and play. You’ll find that each step on different surfaces keeps your mind and body engaged, making your ride-on experience both fun and beneficial. Incorporating sensory-rich environments into your activities can further amplify these benefits, providing a more comprehensive sensory journey. Designing a variety of textures in your path can optimize sensory stimulation and developmental benefits, making each ride even more enriching. Additionally, integrating interactive elements such as sound or visual cues can further enhance the sensory experience. This simple addition transforms a basic activity into a rich sensory journey.
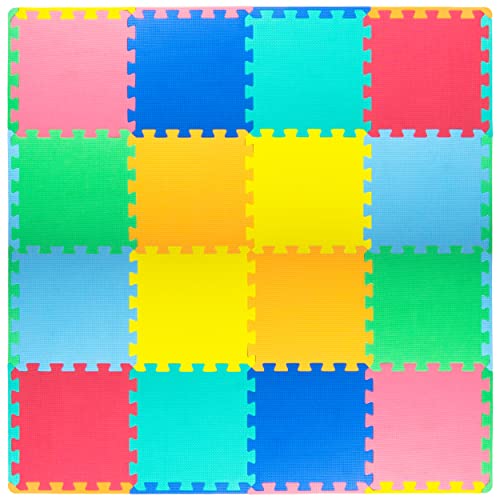
ProSource Foam Puzzle Floor Play Mat for Kids and Babies with Solid Colors, 36 or 16 Interlocking Tiles with Borders, Assorted
PROTECTIVE FLOORING – Durable, high density foam provides a gentle surface and protection for your child in areas…
As an affiliate, we earn on qualifying purchases.
As an affiliate, we earn on qualifying purchases.
Key Benefits of Texture Paths for Your Child’s Development

Texture paths help your child become more aware of different sensations, strengthening their sensory skills. As they move along, they also practice and improve their fine motor abilities. These benefits support your child’s overall growth in a fun and engaging way. Incorporating sensory activities like texture paths can also foster positive growth mindsets and resilience as children navigate new challenges. Additionally, designing these paths with color accuracy in mind can make the experience more engaging and stimulate your child’s visual development. Incorporating sensory-rich elements like varied textures can further enhance their tactile exploration and learning. Exploring sound healing science principles, such as the use of calming vibrations, can also add an extra layer of sensory stimulation to the activity. Understanding the importance of sensory integration can help tailor these activities to best support your child’s development.
Enhances Sensory Awareness
Because children learn best through their senses, incorporating texture paths into their play can markedly boost sensory awareness. As your child navigates different textures, they engage in sensory integration, helping their brain process various sensory inputs more effectively. Texture paths encourage tactile exploration, which sharpens their ability to recognize and differentiate between surfaces and sensations. This engagement not only heightens their awareness of the world around them but also builds a foundation for improved coordination and focus. By providing diverse textures, you help your child develop a stronger connection between their senses and their environment. Sensory processing can be improved through such tactile experiences, supporting their overall development and making everyday experiences more meaningful and less overwhelming. Incorporating a variety of textures can also stimulate sensory pathways, enhancing the child’s overall sensory development.
Promotes Fine Motor Skills
Engaging with texture paths can substantially enhance your child’s fine motor skills. As they grasp, pinch, and manipulate different textures, they improve their sensory integration and precision. These activities strengthen hand-eye coordination and dexterity, essential for tasks like writing and buttoning. Texture paths encourage active motor development by requiring deliberate movements, fostering muscle control and coordination. Incorporating a variety of textures can also support home safety by helping children develop a better sense of their environment through tactile exploration. Recognizing the importance of spiritual connections, such as twin flame or soul tie awareness, can also promote emotional development and resilience in children as they grow. Additionally, understanding the role of sensory development can guide caregivers in creating enriching play environments that boost overall growth.
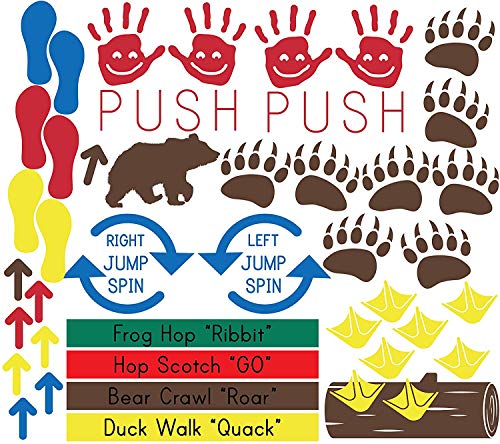
Deluxe School & Classroom Sensory Path Kit – with 65 Custom Vinyl Decals
CLASSROOM SENSORY PATHWAY – Studies show sensory paths are a great way to prepare students for classroom activities
As an affiliate, we earn on qualifying purchases.
As an affiliate, we earn on qualifying purchases.
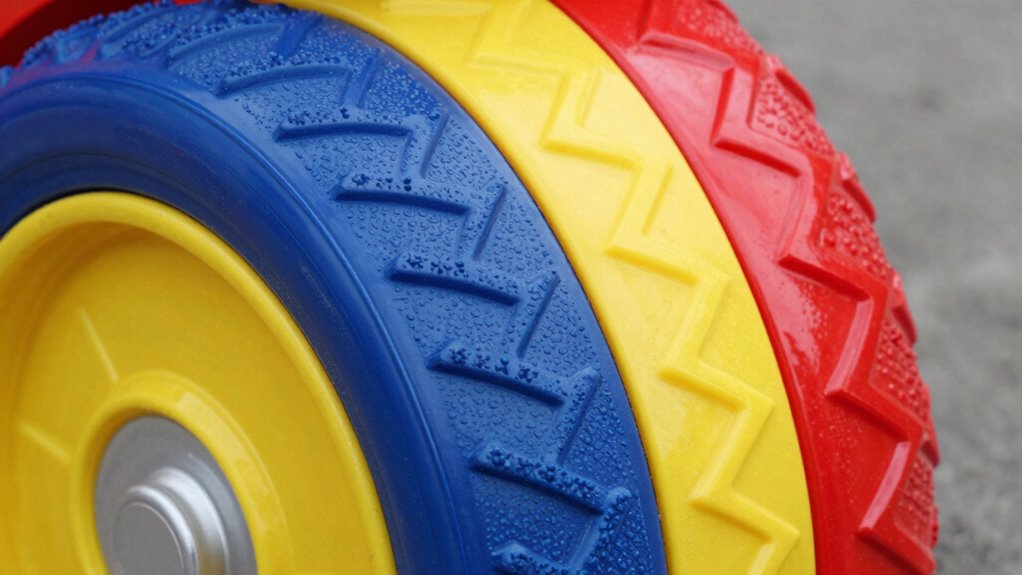
Choosing the Best Materials for Your Sensory Path
Choosing the right materials for your sensory path is essential to creating a safe and effective environment. You want options that balance material durability with aesthetic appeal to keep the path engaging and long-lasting. Consider these top choices:
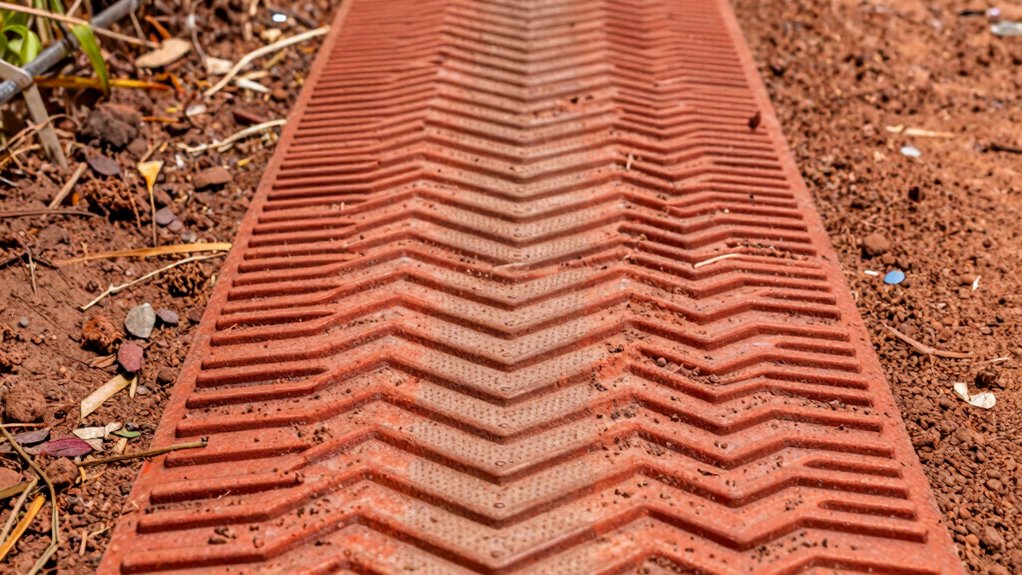
- Rubber tiles – highly durable, shock absorbent, and easy to clean.
- Foam mats – provide a soft surface, ideal for comfort and safety.
- Textured vinyl – offers vibrant colors, varied textures, and excellent wear resistance. Selecting materials with antimicrobial qualities can help maintain a healthier environment, especially in areas with frequent contact. Additionally, choosing weather-resistant materials ensures your sensory path remains intact despite outdoor conditions. Selecting the right combination material durability guarantees your sensory path withstands daily use while visually stimulating children. Incorporating slip-resistant surfaces can further enhance safety in wet or humid environments. To maximize safety and longevity, it’s important to evaluate material resistance to weather and heavy traffic, which helps maintain both safety and appeal over time. Furthermore, considering easy maintenance can save time and effort in keeping the path clean and inviting. Remember, durable yet attractive choices make your sensory path inviting and functional for everyone.
Installing a Texture Path on Ride-On Toys: Step-by-Step

To install a texture path on a ride-on toy, start by gathering all the necessary materials, like textured tape or mats. Next, prepare the surface of the vehicle to guarantee a smooth and secure attachment. Finally, attach and secure the texture path carefully to create a safe, sensory-rich experience.
Gather Necessary Materials
Have you gathered all the tools and materials needed before starting the installation? Proper material selection guarantees durability and safety, while safety considerations protect you and the child during the process. To get started, focus on these essentials:
- Texture Path Materials – Choose non-toxic, child-safe textures like silicone, rubber, or soft fabric.
- Adhesives – Use strong, safe glue or double-sided tape designed for plastics and toys.
- Tools – Keep scissors, a cleaning cloth, and a ruler handy for precise cutting and placement.
- Quality Considerations – Ensuring the machine quality is sufficient is important for safety and longevity of the upgrade. Additionally, verifying the material compatibility can prevent future issues with peeling or damage. Being aware of manufacturing standards can further ensure that the textures meet safety requirements. Selecting materials that meet industry safety standards can significantly enhance the overall safety and reliability of the texture path. Furthermore, choosing durable materials ensures the texture path withstands regular use without deteriorating quickly.
Making careful choices in material selection and adhering to safety considerations will make the upgrade smooth and secure. Double-check that all items are free of sharp edges or harmful chemicals before beginning.
Prepare the Vehicle Surface
Before applying the texture path, verify the vehicle surface is clean and smooth. Proper surface preparation is essential for a secure, long-lasting attachment. Start by thoroughly cleaning the area to remove dust, dirt, or grease that could interfere with adhesion. Use a gentle cleaner and a soft cloth to ensure the surface is spotless. Once clean, inspect for any rough spots or imperfections; lightly sanding these areas can create a better bonding surface. When selecting materials, choose a texture path designed for plastics or ride-on toys, ensuring compatibility. The right material selection will improve adhesion and durability. Taking these steps guarantees the texture path adheres properly, providing a safe and effective sensory upgrade for your ride-on toy.
Attach and Secure Texture Path
Once you’ve prepared the surface, it’s time to attach and secure the texture path properly. Your goal is to ensure it stays firmly in place during play. Start with these steps:
- Choose the right mounting techniques, like adhesive strips or screws, based on the texture path and vehicle surface.
- Apply your securing methods evenly, pressing the texture path firmly to eliminate air bubbles and gaps.
- Double-check that the edges are securely attached and that the path follows the intended contours of the ride-on.
Using proper mounting techniques and securing methods guarantees durability and safety. Make sure to follow manufacturer instructions for adhesives or fasteners, and test the attachment with gentle pressure before regular use. Proper securing ensures your sensory upgrade stays intact during active play.
Creative Ideas to Customize Your Texture Path and Keep Kids Engaged
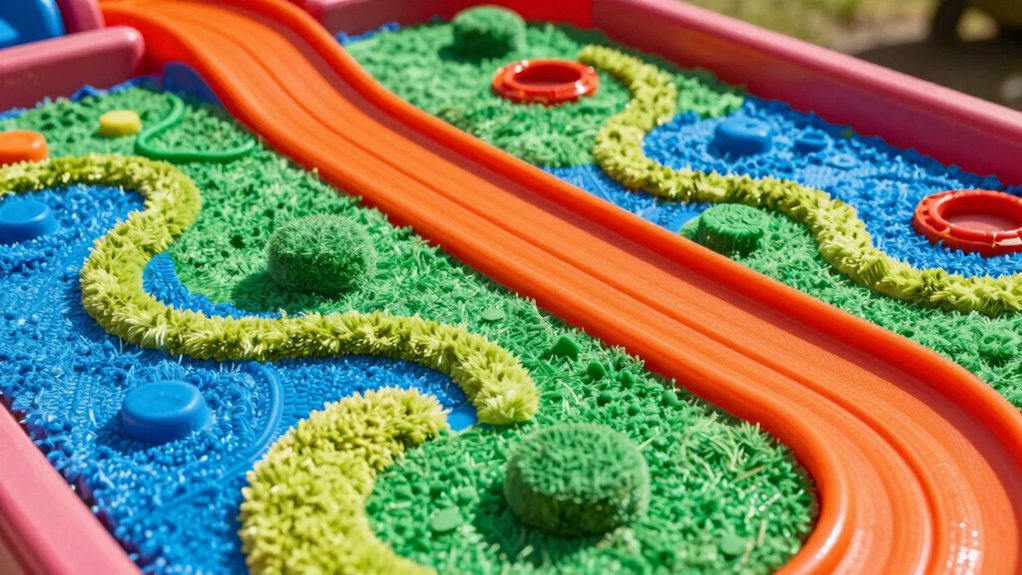
To keep kids excited and engaged, customizing your texture path with creative ideas can make the activity both fun and educational. Incorporate a variety of textures, like soft fabrics, bumpy rubber, and smooth stones, to enhance sensory integration. Use vibrant colors and different materials to stimulate their senses and encourage exploration. You can also add elements like zigzag lines, looping curves, or mini obstacles to promote motor skill development. Incorporate different heights and angles to challenge their balance and coordination. Adding themed sections—such as a jungle or beach scene—can spark imaginative play while engaging multiple senses. These creative touches make the texture path a dynamic tool for sensory development, helping kids refine motor skills while keeping them captivated and enthusiastic to explore.
Safety Tips for Kid-Friendly and Durable Texture Paths
Ensuring your texture path is safe and durable is essential for fun and worry-free play. Focus on these safety precautions to protect your kids and extend the life of your path:
- Check Material Durability: Choose weather-resistant, high-quality materials that withstand heavy use and harsh conditions.
- Secure Edges Properly: Make sure all edges are smooth and firmly anchored to prevent tripping hazards or shifting.
- Avoid Sharp or Loose Items: Steer clear of materials that can break apart or cause cuts, ensuring the surface remains safe over time.
Affordable Materials to Build Your Texture Path on a Budget
Building a budget-friendly texture path is entirely doable when you choose affordable materials that still prioritize safety and durability. Cost-effective solutions like rubber mats, textured outdoor paint, and repurposed items such as scrap wood or plastic tiles can create effective paths without breaking the bank. These materials are easy to source and often available at local hardware or dollar stores. To keep costs low, consider repurposing items you already have around the house. When installing, follow DIY installation tips like securing materials firmly, ensuring smooth progressions, and avoiding sharp edges. Proper preparation and attention to detail will help your texture path stay safe and durable while saving money. With some planning, you’ll create an engaging sensory feature that’s both affordable and long-lasting.
Troubleshooting Common Issues During Installation

Even with careful planning, installation issues can arise when working on your texture path. To troubleshoot installation problems effectively, focus on these common issues:
- Uneven Surface – Check if the base surface is level. An uneven surface complicates texture path maintenance and can cause parts to shift.
- Adhesive Problems – Ensure you’re using the right adhesive and applying it evenly. Poor adhesion leads to peeling and requires reinstallation.
- Texture Displacement – If textures move or detach, verify proper curing time and pressure during installation. Proper techniques prevent future issues.
Addressing these problems early helps maintain your texture path’s integrity and simplifies troubleshooting installation. Keeping a close eye on these factors ensures a smooth upgrade process and long-lasting results.
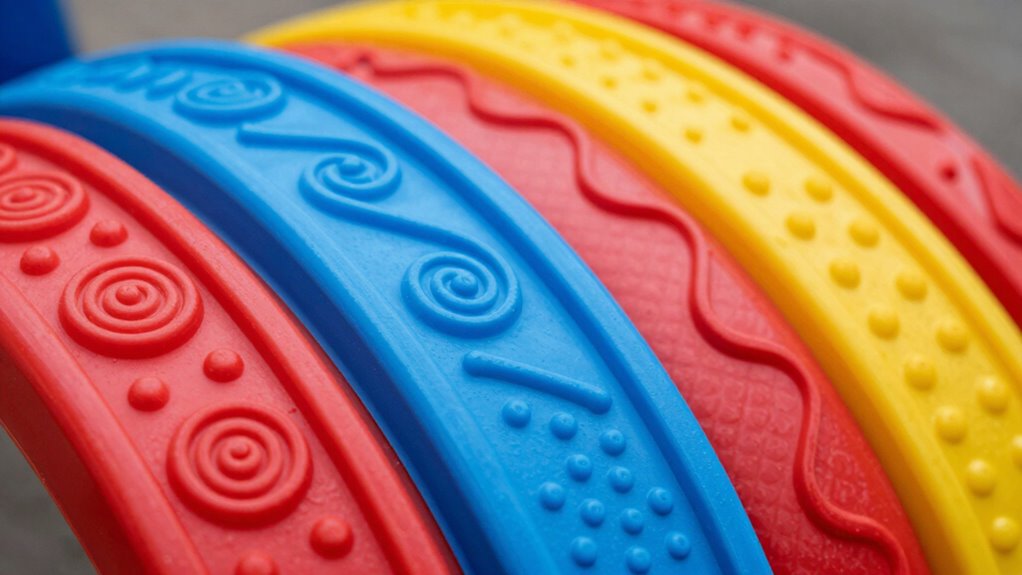
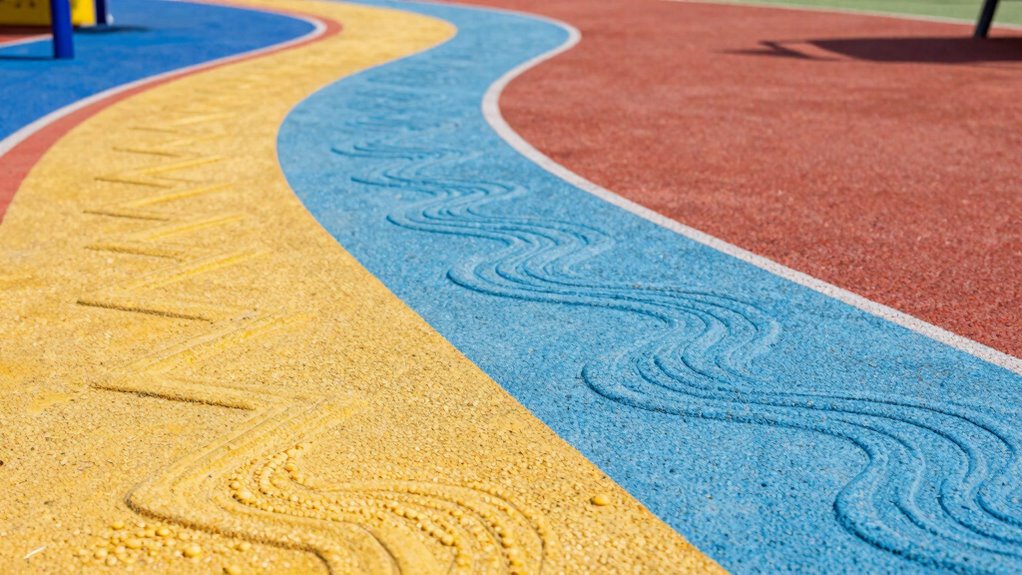
Using Different Textures and Patterns to Make Playtime Exciting
Once you’ve addressed common installation issues, you can start exploring creative ways to enhance your texture path. Using different textures and patterns keeps playtime exciting and engaging. Incorporate a variety of textures—like rough, smooth, bumpy, or soft—to stimulate your child’s senses and encourage exploration. Pattern diversity also adds visual interest and keeps your little one enthusiastic to discover what’s next. Mix and match different materials, such as rubber, fabric, or foam, to create a dynamic sensory experience. By varying textures and patterns, you make the path more inviting and unpredictable, fostering curiosity and playfulness. Keep experimenting with combinations to find what resonates most with your child’s preferences and developmental needs.
How Texture Paths Support Overall Growth and Playfulness
Texture paths play a vital role in supporting your child’s overall growth by engaging their senses and encouraging active exploration. They promote sensory integration, helping your child process different textures, which enhances brain development. Additionally, texture paths boost motor development by requiring your child to crawl, walk, or reach across various surfaces.
Consider these benefits:
- Enhances sensory integration by exposing your child to diverse tactile experiences.
- Strengthens motor skills as they navigate different textures and patterns.
- Fosters playfulness through engaging, hands-on exploration that keeps your child curious and active.
Frequently Asked Questions
How Can I Best Maintain and Clean My Child’s Texture Path?
To keep your child’s texture path clean and well-maintained, follow a regular maintenance schedule by wiping it down with a damp cloth after each use. Use gentle cleaning tips like mild soap and water to remove dirt and grime. Avoid harsh chemicals that could damage the surface. Regularly inspect for wear and tear, and clean spills promptly to make sure the texture path stays safe, clean, and fun for your child.
Are There Any Age Restrictions for Using Texture Paths?
There are generally age restrictions for using texture paths, mainly due to safety considerations and age appropriateness. You should check the manufacturer’s guidelines, but typically, texture paths are suitable for children over 3 years old. Always supervise your child during use, and verify the texture path is securely installed to prevent accidents. Prioritizing safety considerations helps you choose the right sensory upgrade that matches your child’s age and developmental stage.
Can I Add Multiple Textures for Varied Sensory Experiences?
Yes, you can add multiple textures for varied sensory experiences. Imagine a child with sensory processing disorder who loves exploring different textures; customizing their ride-on with various tactile paths provides rich multisensory stimulation. By combining rough, smooth, and bumpy textures, you create an engaging environment that encourages exploration and sensory development. Texture customization allows you to tailor experiences to individual needs, making each ride-on uniquely stimulating and fun.
How Long Does It Typically Take to Install a Texture Path?
The installation time for a texture path usually takes about 1 to 2 hours, depending on your skill level and the complexity of the customization options chosen. You can easily customize your ride-on by selecting different textures, and the process is straightforward. Make sure to follow the instructions carefully, gather all necessary tools beforehand, and allow yourself enough time to complete the upgrade smoothly.
What Are the Best Storage Options for a Removable Texture Path?
You should consider storage solutions that prioritize material durability, like sturdy plastic bins or covered storage boxes. These options protect your removable texture paths from damage and weather, ensuring longevity. Opt for stackable or labeled containers for easy access and organization. Metal or waterproof containers are ideal if you need extra protection. By choosing durable, organized storage solutions, you keep your texture paths in top condition and ready for quick reinstallation whenever you need them.
Conclusion
So, who knew that a simple texture path could turn your child’s playtime into a sensory adventure? It’s funny how such an easy upgrade can boost development and creativity—yet, here you are, still debating whether to build one. Sometimes, the smallest changes make the biggest difference, reminding us that even the simplest ideas can create the most meaningful memories. So go ahead, turn your yard into a playground of endless possibilities—because, after all, simplicity is the ultimate sophistication.