
To build a DIY pretend town for ride-on adventures, start with household items like cardboard boxes, plastic containers, and craft supplies to create buildings and roads. Arrange streets with tape or chalk, and personalize structures with paints, stickers, and household repurposed items. Add details like trees and benches for realism. Set up parking and gas stations to expand play options. Keep the scene flexible and engaging—if you continue exploring, you’ll discover more tips to boost fun and imagination.
Key Takeaways
- Use household items like cardboard, plastic containers, and craft supplies to create customizable buildings and structures.
- Design roads and pathways with tape or chalk, adding traffic signs and signals for realism and accessibility.
- Personalize the scene with trees, benches, and details using household objects to enhance immersion and creativity.
- Incorporate mini parking lots, gas stations, and train stations to facilitate ride-on vehicle play and storytelling.
- Engage children in planning and building to foster creativity, problem-solving, and active pretend play adventures.
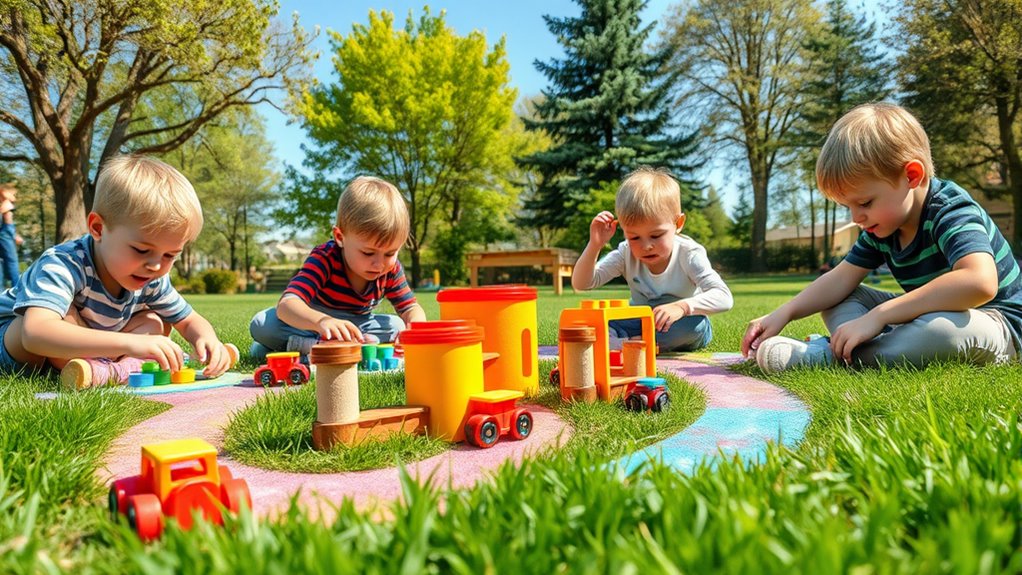
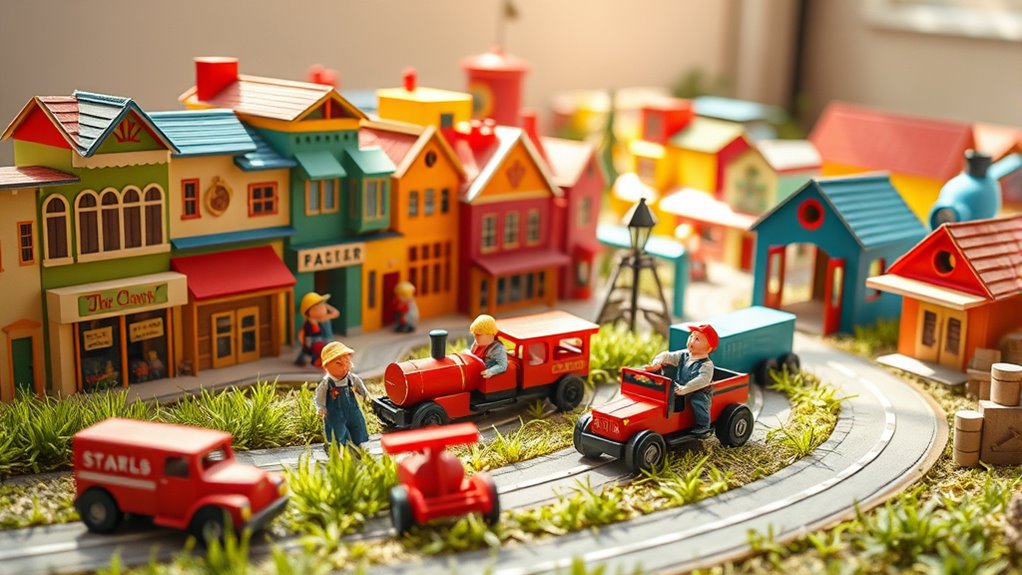
Have you ever wondered what it takes to build a thriving town from scratch? If you’re planning a pretend play scene for ride-on adventures, you’re about to set out on a creative journey that sparks imagination and storytelling. Building a town isn’t just about laying out roads and placing buildings; it’s about creating a vibrant world where your child can explore, role-play, and develop essential skills. You start by gathering simple materials like cardboard boxes, plastic containers, and craft supplies. These become the foundation of your town—houses, shops, parks, and even tiny vehicles. Using paints, markers, and stickers, you can personalize each structure, giving each its unique character. Think about designing a cozy bakery or a bustling fire station that invites your child into different roles.
Next, consider the layout. You want to make it accessible and inviting, so place roads and pathways that connect everything logically. Use tape or chalk to draw streets on a large piece of cardboard or outdoor pavement. You can even add crosswalks, stop signs, and traffic lights to make the scene more realistic. As you build, involve your child in the process. Ask what kind of buildings they want and encourage their ideas—this boosts their creativity and investment in the scene. Once the basic structures are in place, add details like trees, benches, and streetlamps. You can repurpose household items—an upside-down basket becomes a park gazebo or a toy block becomes a city hall. These details make the town feel alive and immersive. Incorporating elements like playful themes can further stimulate your child’s imagination and keep them engaged.
Creating pretend play scenes with ride-on vehicles takes the experience further. Imagine a small town where your child’s ride-on car or truck navigates the streets you’ve laid out. You can set up mini parking lots, gas stations using small cups, or even a makeshift train station with a paper sign. The key is to keep the scene flexible and expandable. As your child plays, they’ll invent stories—delivering groceries, going to the fire station, or visiting the park. These scenarios foster communication, problem-solving, and social skills. Building this pretend town isn’t just about play; it’s about nurturing your child’s imagination and encouraging them to explore their world in a safe, creative space. With a little effort, your backyard or playroom transforms into a bustling town full of adventure and endless possibilities.
pretend play town building kit
As an affiliate, we earn on qualifying purchases.
As an affiliate, we earn on qualifying purchases.
Frequently Asked Questions
What Safety Precautions Should I Consider When Building Play Scenes?
You should guarantee all materials are non-toxic and safe for children, avoiding sharp edges or small parts that could be swallowed. Secure all structures firmly to prevent tipping, and supervise playtime to monitor interactions. Use sturdy, weather-resistant supplies if outdoors, and keep the area free of hazards like loose cords or unstable objects. Regularly inspect the scene for damage or wear to maintain a safe environment.
What Materials Are Safest for DIY Pretend Play Setups?
You should choose non-toxic, BPA-free plastics, soft fabrics, and smooth woods for your DIY play setups. Opt for materials that are free from sharp edges and small parts to prevent injuries or choking hazards. Use water-based paints and finishes to avoid harmful chemicals. Always check labels for safety certifications, and thoroughly clean and inspect materials before construction to verify your play area is safe and child-friendly.
How Can I Customize Scenes for Different Age Groups?
You can customize scenes for different age groups by incorporating versatile elements like adjustable height signs, soft foam play areas, and simple, colorful props for younger kids. For older children, add more complex features like miniature buildings, traffic signs, or themed accessories. Switch out or modify parts easily to suit their interests and developmental stages. This way, your play scene remains engaging, safe, and fun for kids of all ages.
What Maintenance Is Needed for Outdoor Play Scenes?
To keep your outdoor play scenes in top shape, you’ll want to give them a gentle check-up regularly. Inspect for wear and tear, clean surfaces to prevent dirt buildup, and apply weather-resistant coatings as needed. Cover scenes during harsh weather to prolong their life, and tighten any loose parts. A little routine care guarantees your play area stays safe, fun, and inviting for endless adventures.
How Do I Store or Transport These DIY Play Scenes?
To store or transport your DIY play scenes, fold or disassemble them carefully to avoid damage. Use sturdy containers or storage bins with lids to keep pieces organized and protected from dust and weather. For transport, consider using a wagon or a large tote with handles for easy carrying. Keep small parts in zippered bags, and guarantee everything is securely packed to prevent loss or breakage during moving or storage.
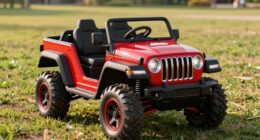
ride-on vehicle playset
As an affiliate, we earn on qualifying purchases.
As an affiliate, we earn on qualifying purchases.
Conclusion
So, after all this building and pretending, you might think you’ve crafted a tiny utopia. But don’t be surprised if your little town turns into a chaos of cars, construction, and giggles. Ironically, the more you try to control the scene, the more delightful the surprises become. In the end, it’s not about perfect play scenes—it’s about the messy, hilarious adventures your kids create. After all, isn’t that what makes the best towns?
kids outdoor road construction set
As an affiliate, we earn on qualifying purchases.
As an affiliate, we earn on qualifying purchases.
DIY pretend city play accessories
As an affiliate, we earn on qualifying purchases.
As an affiliate, we earn on qualifying purchases.