
To measure speed and distance with ride-on toys, first make certain the toy is fully charged and supervised for safety. Mark a flat, safe path and note the starting point. Use a timer to record how long it takes to travel a set distance, then divide the distance by the time to find the speed. Tracking your records helps improve accuracy. Continue exploring these fun activities, and you’ll discover more ways to combine play with learning.
Key Takeaways
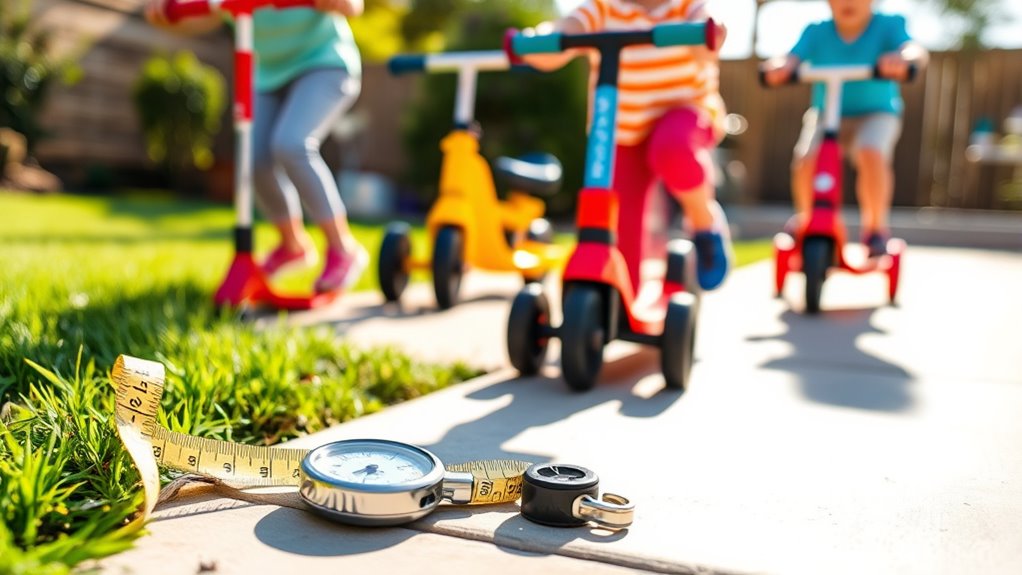
- Use a stopwatch to time the ride over a marked, flat distance to calculate speed accurately.
- Mark start and end points clearly on a safe, even surface for precise distance measurement.
- Ensure the ride-on toy’s battery is fully charged to maintain consistent speed during testing.
- Measure the traveled distance with a measuring tape or marked pathway for reliable results.
- Supervise children closely and use safety gear to ensure safe and effective measurement activities.

Using ride-on toys can be a fun and engaging way to learn about measuring speed and distance. As you encourage your child to explore how fast their toy can go and how far it can travel, it becomes a hands-on experience that makes learning interactive and enjoyable. However, guaranteeing toy safety is essential to prevent accidents. Always check that the ride-on toy is suitable for your child’s age, and inspect it regularly for any loose parts or damage. Proper safety measures, such as wearing helmets and protective gear, should accompany these activities. Additionally, understanding the toy’s battery life is vital since many ride-on toys run on rechargeable batteries. Before starting your measurements, make sure the battery is fully charged to get accurate readings, and monitor the battery during use to prevent it from dying unexpectedly, which could cause your child to be stranded or lose momentum during play.
As you begin, set clear boundaries for the ride-on toy’s operation. Know the maximum speed it can reach and keep track of its battery status. When measuring speed, you might time how long it takes to cover a specific distance, like from one marker to another. Use a stopwatch or a timer on your phone to record this duration, then divide the distance by the time to find the speed. This process provides a practical way to teach basic physics concepts while keeping your child engaged. Remember, always supervise your child during these experiments to guarantee they’re riding safely and not pushing the toy beyond its limits.
Furthermore, understanding the safety features of the ride-on toy can help prevent accidents and ensure a secure play environment.
Tracking the distance traveled involves marking starting and ending points along a safe, flat surface. Encourage your child to ride at a consistent pace, and use a measuring tape or a marked pathway to determine how far they go in a set period. Combining these measurements can help your child understand the relationship between speed, time, and distance. Make sure the toy is fully charged beforehand, as a low battery can reduce speed or cause the toy to stop unexpectedly, disrupting your measurements. Keep an eye on the battery’s health and recharge it when needed to guarantee smooth operation and accurate results.

24V Ride on Toys for Big Kids, Licensed RAM 1500 RHO Electric Car for Kids w/Remote Control, Ride on Truck w/Bluetooth, LED Lights, Truck Bed Storage, Gear Shifter & Soft Start (Black)
Official RAM 1500 Licensed Design: This officially licensed RAM 1500 RHO 2-seater ride on car offers an authentic...
As an affiliate, we earn on qualifying purchases.
Frequently Asked Questions
What Safety Precautions Should I Take During Measurements?
You should always wear protective gear like helmets and knee pads to stay safe during measurements. Make sure to follow supervision guidelines, so an adult can monitor the activity and intervene if needed. Keep the ride-on toys in safe, open areas free of obstacles. Always check the toy’s condition before use, and guarantee everyone understands safety rules to prevent accidents while measuring speed and distance.
Can Ride-On Toys Be Used Indoors for Accurate Testing?
Yes, you can use ride-on toys indoors for measurement accuracy if you have enough indoor space. Make sure the area is clear of obstacles to prevent accidents and guarantee precise readings. Use a stopwatch or timer for consistent results, and mark the start and end points clearly. Keep the surface even for accurate speed and distance measurements, and always supervise children during testing to ensure safety.
How Do Different Terrains Affect Speed Measurements?
Did you know that terrain effects can cause speed measurements to vary by up to 30%? Different terrains, like asphalt versus grass, impact your ride-on toy’s speed and measurement accuracy markedly. Rough or uneven surfaces slow down your toy and can lead to inaccurate readings, while smooth surfaces provide more precise data. To get the most accurate results, test on consistent, flat terrains whenever possible.
What Tools Are Best for Precise Distance Measurement?
You should use a laser distance meter or a high-quality measuring wheel for precise distance measurement. These tools, combined with proper calibration techniques, enhance measurement accuracy. Laser meters are ideal for long or uneven terrains, providing quick and accurate readings, while measuring wheels work well on flat surfaces. Always calibrate your tools regularly to guarantee consistent precision and avoid errors in your distance calculations.
How Does Rider Weight Influence Speed and Distance Results?
A stitch in time saves nine, so understanding how rider weight affects your ride is essential. Heavier rider weight can slow down speed variation and reduce overall distance traveled, as the motor works harder to move the additional weight. Conversely, lighter riders often experience higher speeds and longer distances. Keep this in mind when measuring performance, as rider weight markedly influences your ride’s speed and distance results.

Hikiddo 2 Seater Ride on Toy Car for Kids, 24V 4x4 Ride-on Truck Kids Electric Car w/Remote Control, 4x200W Motors - Hot Pink
POWERFUL PERFORMANCE: This 24V big kids ride-on car with remote features strong 4x200W motors. The switchable 2WD/4WD mode...
As an affiliate, we earn on qualifying purchases.
Conclusion
Now that you’ve learned how to measure speed and distance with ride-on toys, you see how simple fun meets real science. Just like racing your toy down the driveway, understanding these concepts turns play into learning. The thrill of speed contrasts with the precision of measurements, proving that science isn’t just in textbooks—it’s right in your backyard. So, keep exploring, measuring, and enjoying every exciting ride you take.

Hikiddo 24V 2 Seater Ride on Toy for Big Kids, Electric SUV Kids Car to Drive with Parent Remote, 2WD/4WD Switchable - Pink
POWERFUL RIDE: This ride on car for kids ages 4-8 features upgraded 4x200W motors and 24V 10AH rechargeable...
As an affiliate, we earn on qualifying purchases.

Best Choice Products Kids 24V 2-Seater Electric Ride On Car Truck w/ 132lb Weight Capacity, Parent Control, Bluetooth, LED Lights - Pink
2-SEATER RIDE-ON TRUCK: Built for double the fun, this ride-on supports up to 132 pounds, making it great...
As an affiliate, we earn on qualifying purchases.