
Turn your backyard into a fun science lab by teaching kids how to measure distance and time to explore the relationship between speed, distance, and time. Use everyday objects like toy cars and stopwatches to make it simple and engaging. Mark clear start and end points on a flat surface for accurate measurements. Keep it safe and easy to understand, and if you keep going, you’ll find plenty of ideas to make it even more exciting.
Key Takeaways
- Set a clear start and end point on a flat surface to measure distance accurately for the game.
- Use a stopwatch or timer to record how long the object takes to travel the marked distance.
- Calculate speed by dividing the measured distance by the recorded time (Speed = Distance ÷ Time).
- Use everyday objects like toy cars or bikes to make measuring and testing accessible and fun.
- Ensure precise markings and timing to obtain reliable data and deepen understanding of the distance, time, and speed relationship.
toy car speed measurement kit
As an affiliate, we earn on qualifying purchases.
As an affiliate, we earn on qualifying purchases.
How to Teach Kids About Speed, Distance, and Time
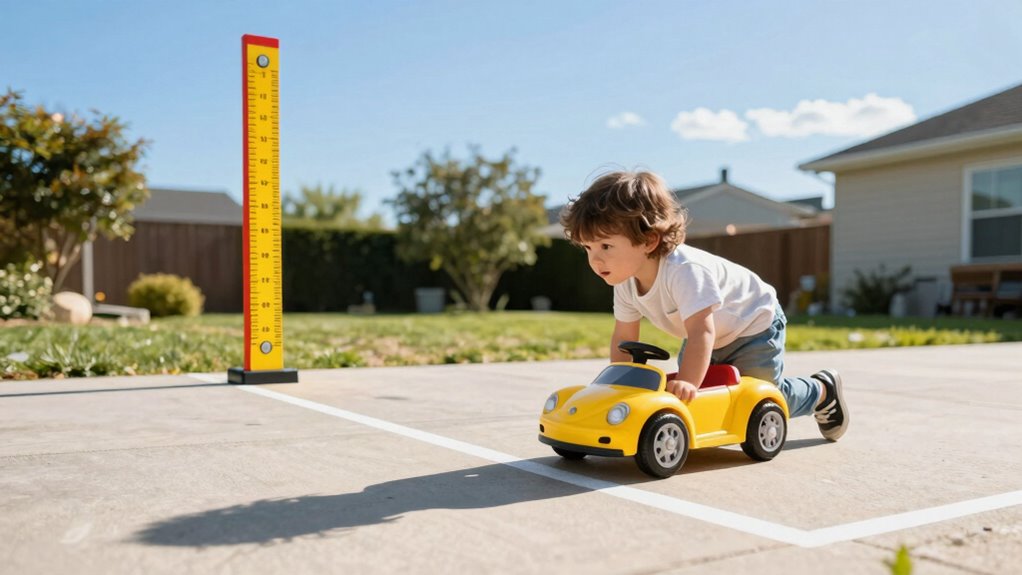
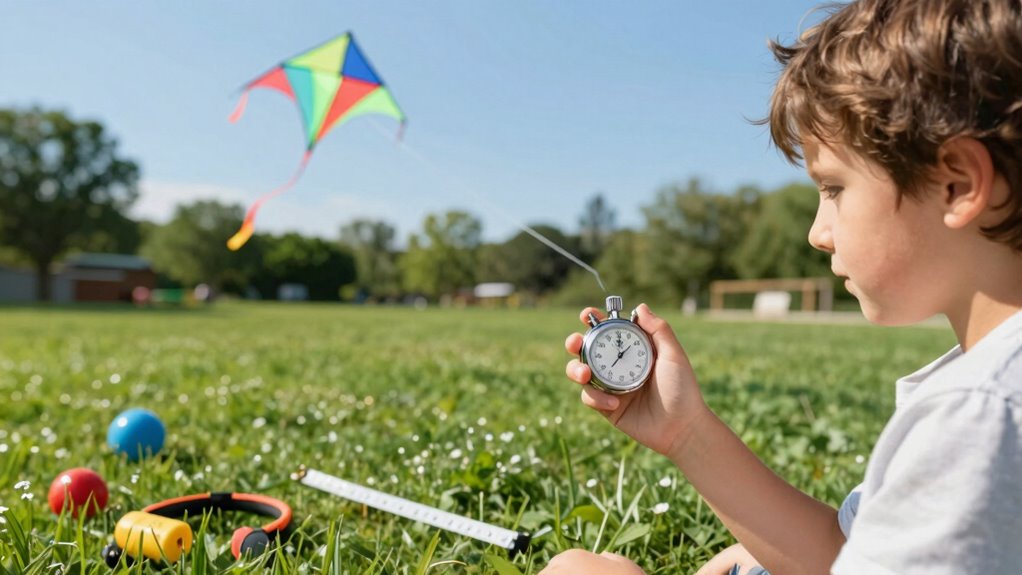
Teaching kids about speed, distance, and time can be engaging when you relate these concepts to their everyday experiences. Start by explaining that physics concepts help us understand how things move, and measurement tools make these ideas concrete. Use simple objects like toy cars or bikes to demonstrate how to measure distance with a ruler or tape measure. Show them how to record the time it takes for the object to travel a certain distance using a stopwatch or a timer. Emphasize that these tools help quantify movement, making abstract ideas more tangible. Mention that understanding the contrast ratio of projectors can also help in creating the perfect environment for viewing these motion demonstrations, especially in low-light conditions. Incorporate recovery routines such as foam rolling into activities to help manage fatigue and improve their ability to stay active during lessons. Additionally, engaging children in hands-on measurement activities fosters experiential learning and enhances their understanding of the concepts. To deepen their comprehension, you can introduce simple mathematical calculations related to speed, distance, and time, making these concepts more accessible. Encourage hands-on activities where they can practice measuring and calculating speed. By connecting everyday measurements to physics concepts, you make learning about motion fun and accessible for kids.
kids stopwatch timer for science experiments
As an affiliate, we earn on qualifying purchases.
As an affiliate, we earn on qualifying purchases.
Setting Up Your Backyard for a Speed Testing Game
Start by choosing a flat, even surface in your backyard to guarantee accurate results. Next, mark clear starting and ending points for the test, so everyone knows where to begin and stop. Finally, gather measuring tools like a tape measure or ruler to record distances precisely.
Choose a Flat Surface
Choosing a flat surface is essential for setting up your backyard speed testing game. A flat terrain guarantees accurate measurements and smooth movement. When selecting your surface, consider stability and safety, avoiding uneven patches that could cause slips or misreadings. Your ideal surface might be a driveway, patio, or level patch of grass. To help visualize your options, see the table below:
| Surface Type | Pros | Cons |
|---|---|---|
| Concrete | Stable, smooth | Hard, unforgiving |
| Grass | Soft, safe | Uneven, may slow objects |
| Pavers | Even surface | Slightly uneven |
| Asphalt | Durable, flat | Slightly rough |
| Sand | Cushioned, safe | Shifts easily |
Choosing the right surface makes your game safer and more enjoyable! Additionally, considering the landscape features of your backyard can help you find the perfect spot for your game setup.
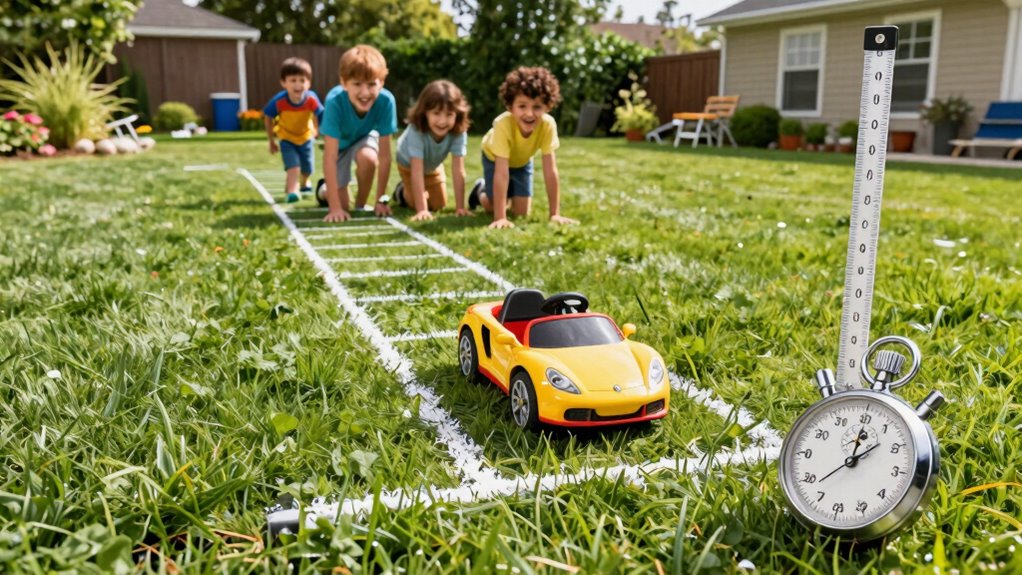
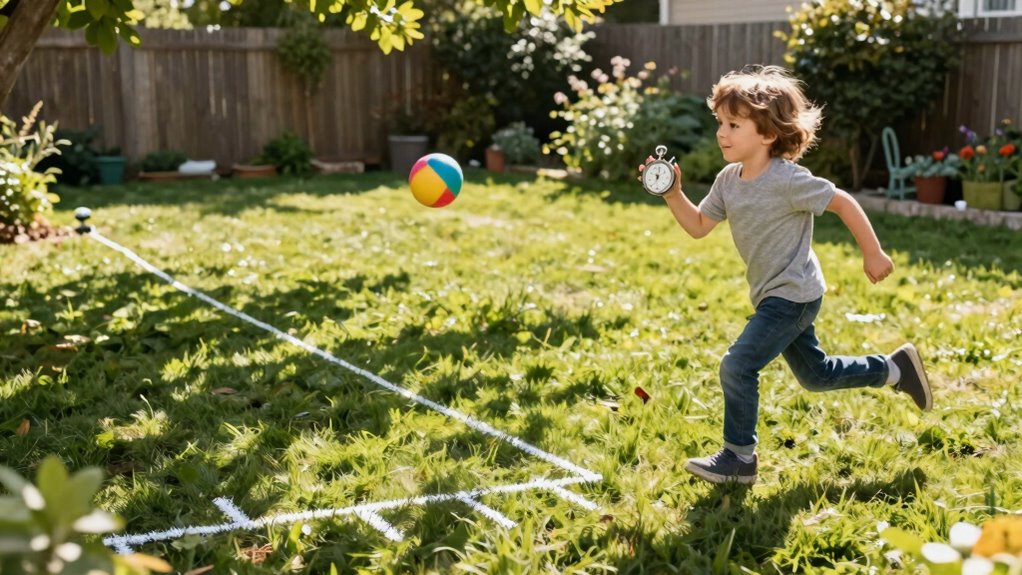
Mark Starting and Ending Points
Have you ever wondered how to guarantee your speed test results are accurate? It all starts with clearly marking start points and identifying end points. Use a piece of chalk or tape to mark where your child begins moving. Make sure the start point is easily visible and consistent for each attempt. Then, identify the end point, such as a specific spot on the ground or a nearby object, and mark it clearly too. This careful marking helps prevent measurement errors from affecting your measurements. Additionally, double-check that the markings are stable and won’t be disturbed during testing. Ensuring consistent measurements can further improve the accuracy of your results. Incorporating proper training techniques can help ensure everyone understands the importance of precise markings, leading to more reliable results. Using precise markings can further improve the accuracy of your results. Keep the markings simple and in plain sight. Accurate marking ensures your measurements are reliable, making your backyard science game both fun and scientifically sound. Clear start and end points are the foundation for precise distance and timing.
Gather Measuring Tools
Gathering the right measuring tools is key to getting accurate results in your backyard speed test. Before starting, assemble essential measuring tools like a tape measure or a ruler to mark distances clearly. You might also need a stopwatch or a timer app to record time precisely. These measuring tools will help you set up your backyard setup accurately, ensuring consistent and reliable measurements. Properly gathering these tools saves time and minimizes errors. A well-prepared backyard setup with accurate measuring tools creates a seamless environment for your speed testing game, making it easier to track progress and compare results over multiple trials. Additionally, understanding the importance of measurement accuracy supports precise data collection, which is vital for reliable results. Incorporating knowledge of plant properties can also help you choose the best natural markers for your course, ensuring consistency across tests. Paying attention to measurement precision can further enhance the accuracy of your timing and distance recordings.
measuring tape for kids outdoor activities
As an affiliate, we earn on qualifying purchases.
As an affiliate, we earn on qualifying purchases.
Easy Ways to Measure Distance and Time With Kids
You can start measuring distance with just your feet, walking out a path and counting steps. Using a clock or stopwatch makes timing activities simple and fun for kids. Together, these easy methods turn everyday moments into mini science experiments. Incorporating basic measurement principles can also introduce children to the importance of measurement and progress tracking. Understanding how to estimate distance and speed provides a foundational skill for future scientific exploration. Additionally, learning about time zones can help kids grasp how different regions experience time differently, enriching their understanding of our interconnected world. Recognizing the accuracy of measurements is essential for conducting reliable experiments and developing scientific skills.
Measuring Distances With Feet
Ever wondered how to measure distances easily without special tools? Using your feet is a simple way to do it. Start by developing pacing strategies—walk a consistent number of steps over a known distance, like from your house to the mailbox. This helps you practice distance estimation, as you’ll learn how many steps equal a specific length. You can mark your stride length with chalk or tape to improve accuracy. To measure a larger area, count your steps and multiply by your stride length. This method makes measuring fun and accessible for kids, turning a walk into a learning activity. Plus, it encourages awareness of your pacing and helps develop intuitive skills for estimating distances with just your feet. Recognizing the importance of body-based measurements can also enhance understanding of spatial relationships. Incorporating awareness of body measurements can help children connect physical size with spatial concepts, making learning more engaging and meaningful. Developing body awareness further supports emotional well-being by fostering confidence in physical activities and self-perception. Additionally, understanding regional flavors and how they influence local measurement traditions can deepen appreciation for cultural differences in everyday activities.
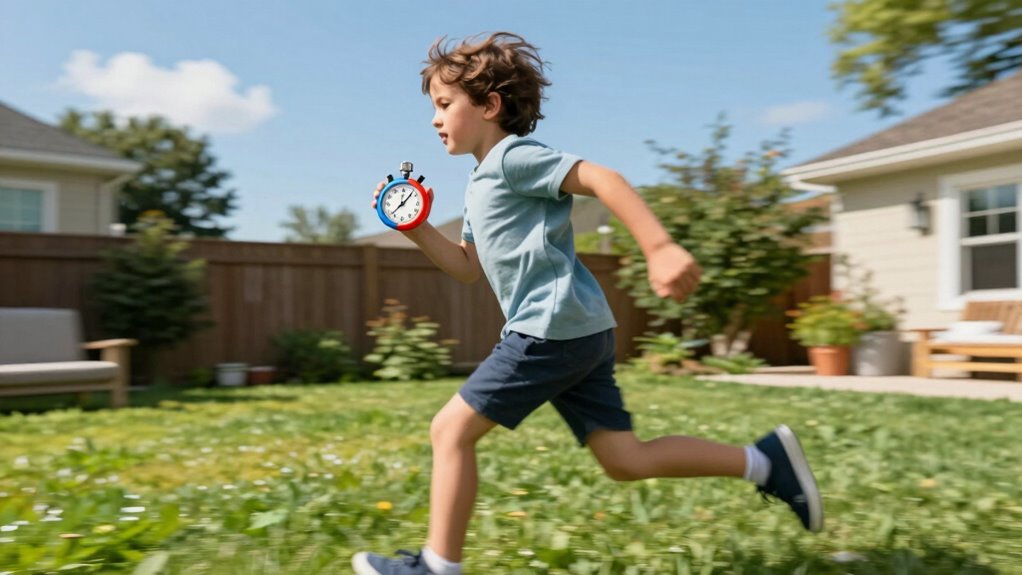
Timing Activities With Clocks
Using clocks to measure time is a simple and effective way for kids to understand how long activities take and how distance relates to speed. To guarantee accuracy, consider interval calibration—checking the clock’s accuracy before starting. A well-calibrated clock helps kids grasp the concept of precise timing. Here’s a quick comparison:
| Clock Type | Notes |
|---|---|
| Digital Clock | Usually accurate, but check for battery issues. |
| Analog Clock | Can be less precise; ensure correct setting. |
| Smartphone Clock | Usually accurate; verify time zone settings. |
| Stopwatch | Great for interval calibration and quick timing. |
Using these tools, kids can time activities, measure distances, and better understand how speed depends on both.
backyard science experiment kit
As an affiliate, we earn on qualifying purchases.
As an affiliate, we earn on qualifying purchases.
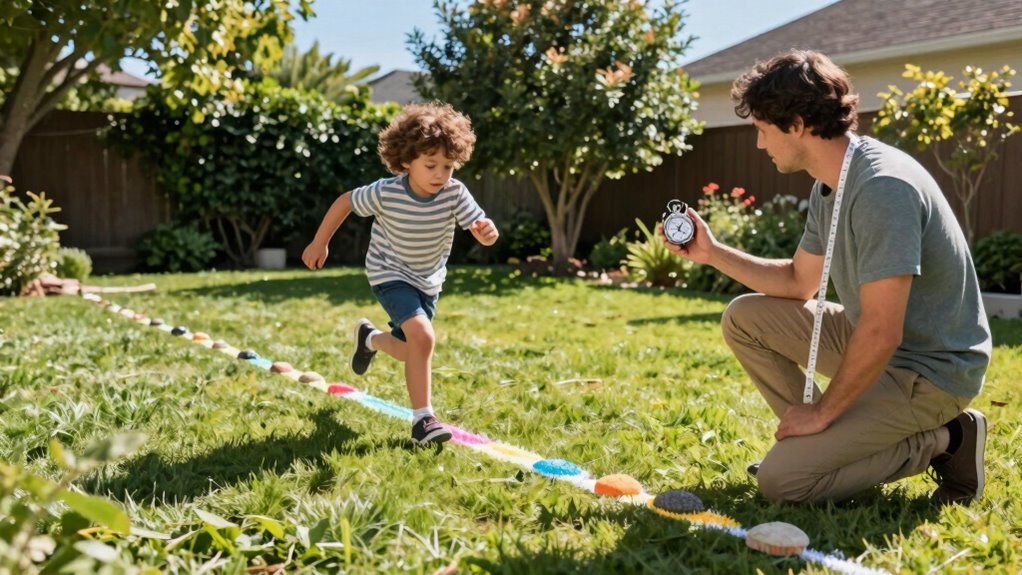
Step-by-Step: Running the Backyard Speed Game
To run the backyard speed game effectively, start by choosing a clear, straight path that’s about 20 to 30 meters long. Mark the start and finish points clearly. Use simple measurement techniques, like a tape measure or marked sticks, to set your distance accurately. When timing, focus on understanding physics concepts such as how distance and time relate to speed. Have a stopwatch ready, and practice starting and stopping it precisely as the runner crosses the lines. Encourage your kids to observe how different running speeds affect their times. Keep the process simple but precise, emphasizing measurement techniques and physics ideas. This step-by-step approach helps kids grasp fundamental science concepts while having fun with a straightforward backyard activity.
Tips to Make the Game More Fun and Educational for Kids
Making the game more fun and educational starts with adding simple challenges and variations. You can encourage your kids to estimate distances or record their times, turning it into a learning experience. Parental involvement boosts motivation and ensures safety precautions are observed. To keep things engaging, try different routes or obstacle courses that teach about measurement and motion. Here’s a quick guide:
| Challenge Type | Safety Tips | Educational Goal |
|---|---|---|
| Timing races | Supervise to prevent falls | Understand speed and distance |
| Distance guessing | Clear the area for safety | Develop estimation skills |
| Obstacle courses | Use soft, secure obstacles | Learn about motion and force |
This approach keeps the game fun, safe, and educational for everyone.
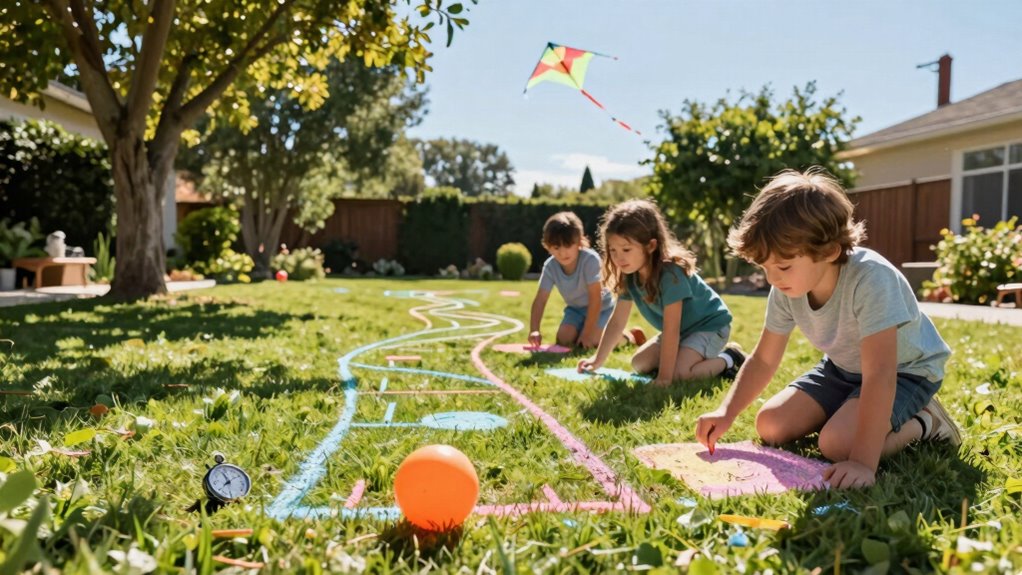
Creative Variations and Extra Challenges to Try Next
Once you’ve mastered basic challenges, it’s exciting to add creative variations and extra obstacles that keep kids engaged and thinking critically. Try introducing creative challenges by changing the rules, like measuring distance with alternative materials such as string or paper clips, instead of traditional tape measures. You can also have kids design their own obstacle courses or time trials using household items like cups, blocks, or even toys. Encourage them to experiment with different ways to calculate speed, such as adjusting starting points or adding stops along the course. These variations challenge them to think creatively and adapt their strategies. Using alternative materials keeps the game fresh and accessible, making the learning process more dynamic and fun while deepening their understanding of the concepts.
Frequently Asked Questions
What Age Range Is Ideal for This Backyard Science Game?
You’ll find this backyard science game ideal for children aged 6 to 12, as it suits their developing skill levels and curiosity. Younger kids can enjoy simple timing, while older children grasp more complex concepts. Adapt the game to match their skill levels, making it both fun and educational. This range encourages learning through active participation, fostering a love for science and outdoor play.
Can This Game Be Adapted for Indoor Play?
Yes, you can adapt this game for indoor play by using indoor alternatives like toy cars or rolling balls on different surfaces. Make certain safety considerations are met—clear the area of obstacles and supervise children closely. You might set up a hallway or open space to measure distances accurately, making it a fun, educational activity that teaches speed concepts without needing outdoor space. Just keep safety and creativity in mind!
What Safety Precautions Should I Take During the Activity?
You should always wear safety gear like goggles and gloves to protect yourself. Make sure you’re in a supervised environment, especially if kids are involved, to prevent accidents. Clear the area of obstacles to avoid trips and falls. Keep sharp objects and fragile items away from the activity zone. Always follow safety instructions carefully and stay attentive to guarantee everyone stays safe while enjoying the game indoors or outdoors.
How Can I Modify the Game for Multiple Participants?
Did you know that group participation boosts learning and fun? To modify the game for multiple players, assign each person a different starting point or time to launch their object. Use multiplayer modifications like keeping score or racing to a finish line. This encourages friendly competition and teamwork. You can also set up relay-style challenges for more engagement. These tweaks make the activity perfect for friends and family!
Are There Recommended Materials or Tools for Measuring Speed Accurately?
You should use measurement tools like a tape measure or ruler to accurately gauge distances, and timing devices such as a stopwatch or smartphone timer for precise timing. These tools help guarantee your speed calculations are accurate. Make sure your timing device is easy to start and stop quickly, and double-check measurements for consistency. Using reliable measurement tools and timing devices makes your backyard science game both fun and scientifically accurate.
Conclusion
As you watch your kids race across the yard, it’s funny how a simple game can open big lessons about speed, distance, and time. Sometimes, the best discoveries happen when you least expect them—like realizing that measuring their sprint’s speed is easier than you thought. Keep experimenting, and you might just find that the backyard is the perfect place for science, fun, and a little bit of unexpected learning. Who knew science could be this simple?