
To create a simple, safe traffic light circuit for preschoolers, gather LEDs, resistors, a power supply, and jumper wires. Connect the LEDs in sequence—red, yellow, then green—using resistors to protect them. You can include switches for manual control or timers for automatic changes. As you assemble this fun project, you’ll teach kids about traffic safety, colors, and cause-and-effect. Keep exploring how each component works to make the activity even more engaging and educational.
Key Takeaways
- Use a simple circuit with three LEDs (red, yellow, green) connected to a 9V power supply and resistors for safety.
- Incorporate switches or timers to control the sequence, enabling manual or automatic operation suitable for preschool activities.
- Explain each component’s function, such as resistors protecting LEDs, to enhance educational understanding during assembly.
- Guide children through hands-on building to teach colors, sequencing, and cause-and-effect in a fun, safe environment.
- Emphasize traffic safety concepts by mimicking real traffic lights, fostering curiosity and foundational knowledge of everyday systems.
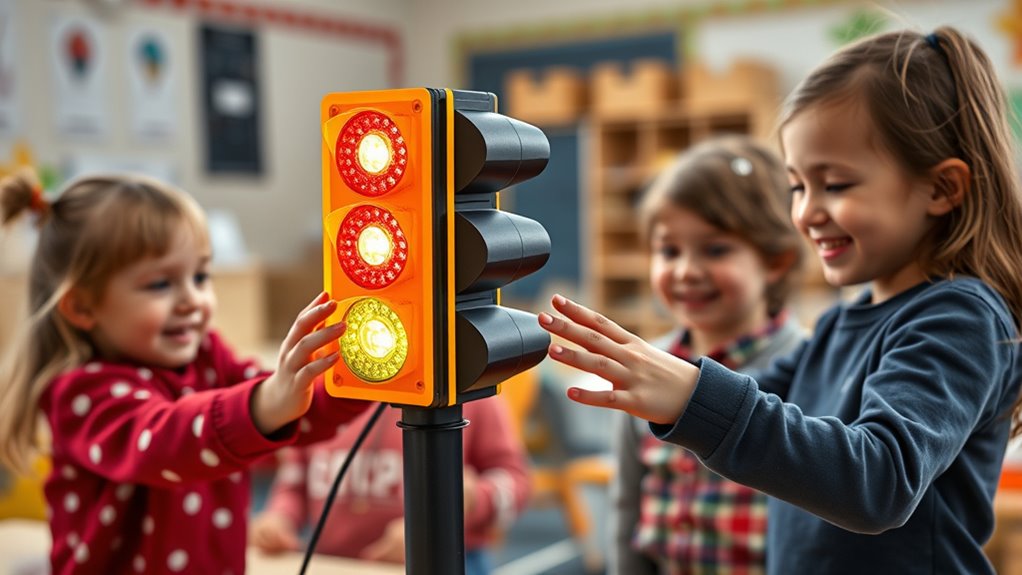
Ever wondered how to create your own traffic light at home or for a school project? Building a simple traffic light circuit is a fun and educational activity that introduces preschoolers to basic electronics concepts under your guidance. It’s a perfect way to teach kids about colors, sequencing, and cause-and-effect while giving them a hands-on experience they’ll enjoy. With some basic materials and a little patience, you can help your little one assemble a functioning traffic light that lights up in the correct order.
First, gather your materials. You’ll need three LED lights (red, yellow, and green), a small breadboard or circuit board, a 9-volt battery or power supply, resistors (around 220 ohms for each LED), and jumper wires. Make sure the LEDs are suitable for low-voltage use to prevent damage. It’s also helpful to have a simple switch or a timer module if you want the lights to change automatically, but for beginners, manual control is easiest.
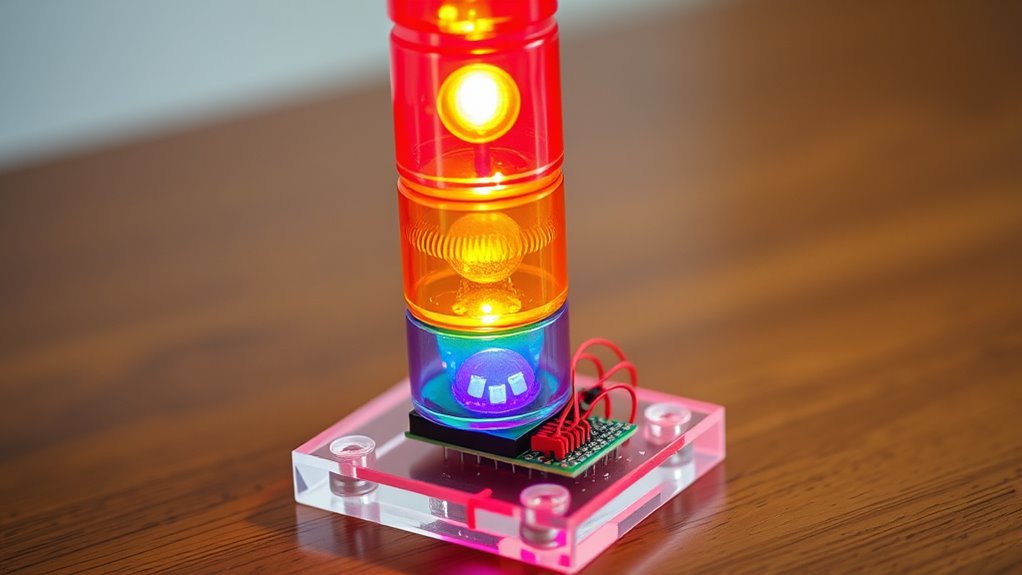
Start by connecting the positive terminal of the power supply to the anode (longer leg) of the red LED through a resistor. Connect the cathode (shorter leg) of the LED to the negative terminal of the power supply. Repeat this process for the yellow and green LEDs, placing them in a sequence on the breadboard. To make the lights turn on one at a time, you can connect each LED to a separate switch or control them with a basic timer circuit if you’re comfortable with electronics.
Once everything is connected, test the circuit by turning on the power. The red LED should light up first, then turn off before the yellow lights up, followed by the green. This sequence mimics real traffic lights and helps preschoolers understand the flow of traffic signals. You can also add simple switches to manually change the lights, giving children the chance to practice controlling the sequence themselves. Understanding the basic electronics concepts behind the circuit can deepen their curiosity about how devices work.
Throughout the process, explain to your child what each part does. Describe how the resistors protect the LEDs from too much current, and how the sequence of lights helps keep traffic safe. Keep the activity interactive, asking questions like, “What color should come after red?” or “When do we stop?” This promotes engagement and reinforces learning. Remember, the goal isn’t just to build a circuit but to foster curiosity and understanding of how everyday systems work. With some patience and creativity, you’ll create a safe, educational, and fun traffic light that’s perfect for preschoolers learning about the world around them.

24V Ride On Toys for Big Kids, 4WD 6X6 2 Seater Ride On Dump Truck with Remote Control, 20inch Seat, 3 Speeds, High Efficiency Battery, 4X100 Motors, Music, Ride On Car for Boys Girls, Black
🚗 24V 6x6 4WD Kids UTV: Powered by a durable 24V rechargeable battery and four 100W motors, this...
As an affiliate, we earn on qualifying purchases.
Frequently Asked Questions
What Safety Precautions Should Adults Take During the Project?
You should always supervise children closely during the project to prevent accidents. Make sure to keep electrical components away from water and avoid touching live wires. Use low voltage power sources to minimize shock risk, and instruct kids on proper handling of tools and parts. Additionally, work in a clean, organized space, and wear safety goggles if necessary. This helps guarantee everyone’s safety and keeps the project fun and educational.
Can This Project Be Adapted for Outdoor Use?
Yes, you can adapt this project for outdoor use by choosing weather-resistant components like waterproof LEDs and durable wiring. Make certain all connections are sealed properly to prevent water damage. Use an outdoor-rated power source and enclosure to protect the circuitry. Keep in mind that outdoor conditions may affect visibility and operation, so test your setup thoroughly before full deployment. This way, your traffic light remains safe and functional outside.
What Are the Recommended Age Ranges for Children Involved?
You should involve children aged 3 to 7, as this project acts like a gentle traffic controller guiding young minds. I once watched a 4-year-old confidently assemble a simple circuit, showing their curiosity and ability to learn. At this age, kids grasp basic concepts with adult guidance. As they grow, they can handle more complex tasks, making this a perfect, adaptable learning experience for early childhood development.
How Long Does It Typically Take to Build the Traffic Light?
It usually takes about 30 to 45 minutes to build the traffic light. You’ll need to gather materials, follow the step-by-step instructions, and assemble the circuit. If you’re experienced, it might take less time, but first-timers should set aside extra time for troubleshooting. Make sure to supervise closely, especially when handling electrical components, to guarantee safety and a smooth building process.
Are There Alternative Power Sources for the Circuit?
Yes, you can use alternative power sources for the circuit. Besides standard batteries, consider using rechargeable batteries, USB power banks, or small solar panels. These options can make your project more eco-friendly and convenient, especially if you want it to run for longer periods. Just guarantee the voltage and current match the circuit’s requirements to avoid damage. Always check compatibility before connecting any alternative power source.

Blissride 24V Jeep Power Wheels w/Remote Control, 4WD Ride on Truck Car, 3 Speed, Bluetooth Music, Wide Seat, Spring Suspension, LED Light, Birthday for Boys Girls Toddler (Black+Red)
Strong 24V 4 Wheel Drive - Equipped with a 24V rechargeable battery and robust four driving motors system(4WD),...
As an affiliate, we earn on qualifying purchases.
Conclusion
Now that you’ve built this DIY traffic light, you’re literally holding the power to teach preschoolers essential road safety skills—it’s like giving them a superpower! With your adult guidance, you turn a simple circuit into an exciting learning adventure they’ll never forget. Keep encouraging their curiosity and watch as they become tiny traffic safety heroes in the making. Remember, your simple project can make a world of difference—so get ready to inspire the next generation of traffic safety champions!

24V Kids Jeep, BLISSRIDE 2 Seater XL Ride on Truck Car w/800W Power Wheel, 4WD/2WD Switchable, Remote Control, 10AH Battery, 20'' Wide Seat, Bluetooth, LED Light,Electric Vehicle for Boy Girl(D-Black)
[Switchable 4WD/2WD] - This 24V ride-on Jeep, powered by a 10AH rechargeable battery and 4x200W motor, effortlessly transitions...
As an affiliate, we earn on qualifying purchases.

OLAKIDS 24V Ride On Car, 2WD/4WD Switchable 2 Seater Kids' Electric Vehicle Jeep Truck with 20" Wide Seat, 4X550W Power Wheels, Remote Control, Soft Brake, LED Light, Music (Ivory)
4WD/2WD & 24V Powerful Motor: The OLAKIDS 24v ride on car is equipped with 4 x 550W motors,...
As an affiliate, we earn on qualifying purchases.