
Creating DIY sensory bins on a budget is easy and fun. Use household items like rice, pasta, beans, or water beads, and select sturdy containers like plastic bins or trays. You can theme your bins with ocean or farm scenes, adding small toys and textured materials for variety. Incorporate tools like scoops or funnels to boost fine motor skills. Want more ideas to make engaging sensory bins that are budget-friendly? Keep going to discover more creative tips.
Key Takeaways
- Use common household items like rice, pasta, beans, or water beads to create affordable, engaging sensory materials.
- Repurpose containers such as plastic bins, trays, or cardboard boxes for cost-effective storage and exploration.
- Incorporate themed elements (ocean, farm, superheroes) using inexpensive or DIY decorations to boost interest.
- Add tools like scoops, funnels, or spatulas made from household items to enhance fine motor skills without extra cost.
- Swap or reuse sensory materials regularly to keep the bins fresh and engaging while saving money.
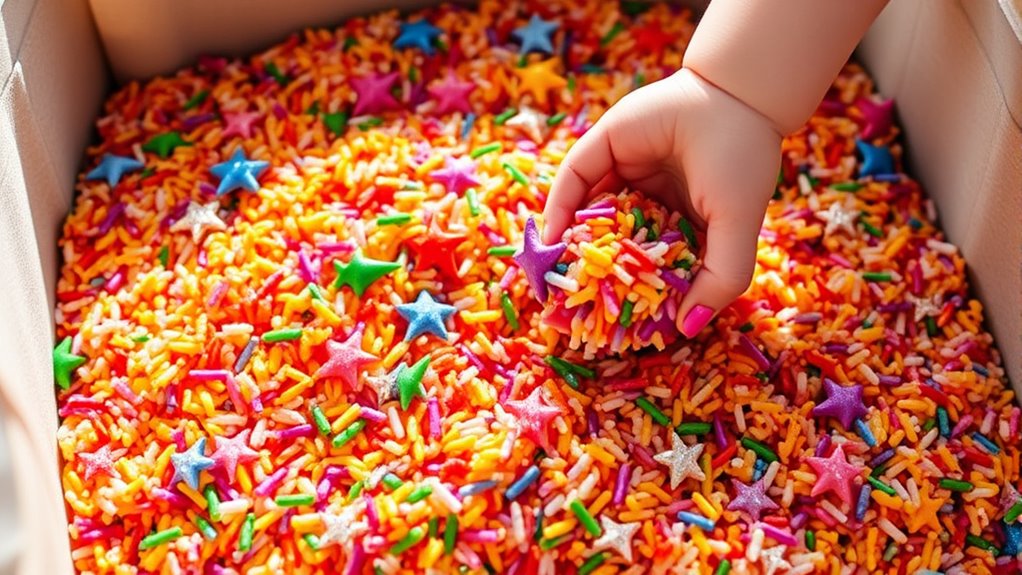
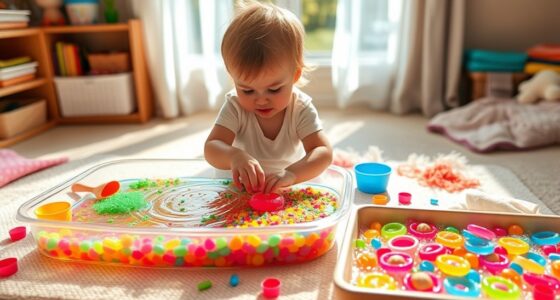
Creating DIY sensory bins is a fun and engaging way to boost your child’s sensory development at home. Sensory play is essential for helping young children explore their environment, develop fine motor skills, and improve their focus. By making your own sensory bins, you can tailor the experience to your child’s interests and needs without breaking the bank. DIY activities like these are not only cost-effective but also provide an excellent opportunity for bonding and creativity. You don’t need fancy equipment or expensive materials—just a few household items and a little imagination.
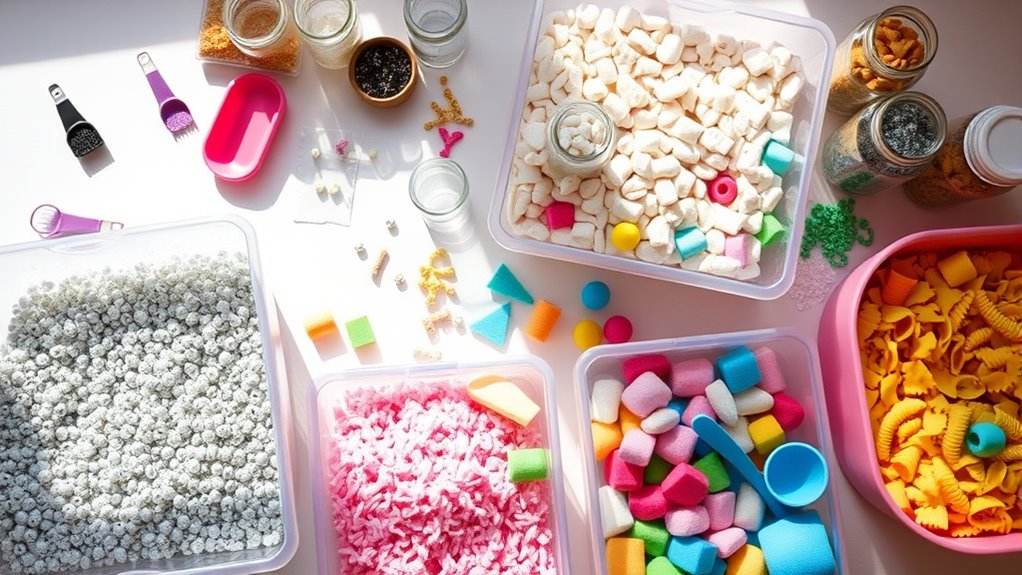
Start by choosing a sturdy container, such as a plastic storage bin, a shallow cardboard box, or even a large tray. The size depends on your space and your child’s age, but the goal is to create a contained space where they can freely explore. Once you have your container, the next step is selecting the sensory material. Common options include rice, pasta, beans, or water beads. You can even mix and match materials to keep things interesting. For instance, combine dried pasta with small toys or scoops for added play value. These materials are inexpensive and versatile, making them ideal for DIY sensory bins.
Adding themed elements can make your sensory bin more engaging. For example, if your child loves the ocean, include blue-colored rice, small plastic sea creatures, shells, and a little scoop. For a farm theme, use dried corn, toy animals, and miniature farm tools. Incorporating different textures—smooth, rough, soft—stimulates sensory exploration and keeps your child curious. You can also add tools like scoops, funnels, or spatulas to encourage fine motor development and make the activity more interactive.
Using iconic character themes such as superheroes or favorite movie characters can also spark your child’s imagination during sensory play. Remember that safety comes first, so supervise your child during sensory play, especially if small items are involved. Keep the sensory bin in a designated, easily cleanable area, and remind your child not to ingest the materials. When playtime is over, you can simply gather the materials and store them for future use or swap out elements to keep the experience fresh. Reusing and recycling household items makes this an affordable, eco-friendly activity.
Creating DIY sensory bins is also a flexible activity that adapts to your child’s growing interests and abilities. Whether you’re introducing new textures, themes, or tools, you control what goes in and how the play unfolds. This personalized approach not only fosters sensory development but also encourages your child’s imagination and problem-solving skills. With a little planning and some everyday items, you can craft endless sensory play opportunities that are entertaining and educational—all on a budget.

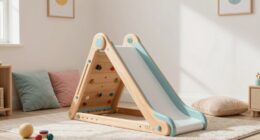
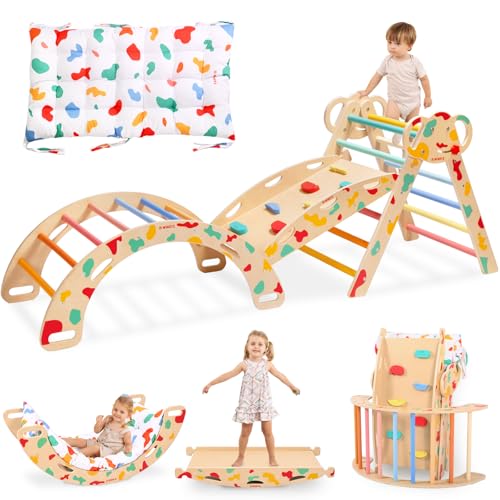
PairPear Foldable Pikler Triangle Climbing Set for Kids, 7 in 1 Montessori Large Wooden Climbing Toys Indoor Jungle Gym with Rocker Arch, Ramp & Slide for Toddlers 18 Months+
Bigger for Growing Kids: 38" tall XL frame lets siblings climb side-by-side, perfect from 18m to age 6
As an affiliate, we earn on qualifying purchases.
Frequently Asked Questions
How Can I Make Sensory Bins Safe for Young Children?
To make sensory bins safe for young children, start with child-proofing tips like supervising play and choosing age-appropriate items. Use non-toxic supplies and avoid small objects that pose choking hazards. Always check materials for safety, and verify the bin is stable to prevent tipping. Keep sharp or breakable items away, and clean the bin regularly. These steps help create a fun, safe sensory experience for your little one.
What Are Some Allergen-Free Sensory Bin Ideas?
You’re looking for allergen-free sensory bin ideas, so opt for hypoallergenic fillers like rice, oats, or quinoa, which are safe for most kids. Natural alternatives such as dried pasta, beans, or sand work well too. Always check for potential allergies and avoid common allergens. Using these options guarantees your sensory bin stays fun and safe, giving children a rich sensory experience without worry.
How Often Should I Change or Refresh Sensory Materials?
While it might seem simple, invigorating your sensory materials is essential for safety and engagement. You should rotate and change your sensory bin contents every 1-2 weeks, considering material longevity and the child’s interest. This keeps the experience new and prevents boredom. Regularly inspecting items for wear or contamination helps maintain a safe play environment. So, don’t wait too long—staying proactive ensures your sensory bins remain fun and safe.
Can Sensory Bins Be Used for Therapeutic Purposes?
You can definitely use sensory bins for therapeutic purposes, as they offer numerous benefits like promoting emotional regulation and calming anxiety. When you incorporate sensory materials thoughtfully, you help children or adults develop focus, reduce stress, and improve sensory processing. These bins create a safe space for exploring feelings and calming triggers, making them a versatile tool for therapy. Just guarantee the contents are appropriate for the individual’s needs and preferences.
What Are Eco-Friendly Materials for DIY Sensory Bins?
You can make your sensory bins eco-friendly by choosing recycled plastics for the container and using biodegradable fillers like dried beans, rice, or natural sand. These materials reduce waste and are safe for children. Avoid single-use plastics and opt for sustainable options to lessen your environmental impact. This way, you create engaging sensory experiences while supporting eco-conscious choices.
WINGYZ Pikler Triangle Set, Montessori Foldable 8-in-1 Jungle Gym & Reversible Animal Slide, Patent-Protected Climbing Set, Safe 2.35" Gap ASTM F963 Standards for Toddlers 18 Months-7 Years (Rainbow)
PICTURE THIS: YOUR CHILD’S EYES LIGHT UP — Imagine the delight as they discover a rainbow climbing wonderland....
As an affiliate, we earn on qualifying purchases.
Conclusion
As you explore DIY sensory bins, you’ll notice how easy it is to turn everyday items into engaging play. Sometimes, the simplest treasures—like a handful of rice or a splash of water—bring the biggest smiles. It’s funny how a little imagination and a few budget-friendly supplies can create endless fun. So, keep experimenting, and who knows? Your next favorite sensory bin might just be hidden in your own closet. Happy creating!
MnnktClair Montessori-Inspired Wooden Pikler Triangle, Space-Saving Indoor Jungle Gym with Convertible Ramp, Detachable Arch & Sturdy Ladder
Thoughtful Milestone Gift: MnnktClair Montessori-inspired Pikler Triangle makes the perfect birthday/holiday gift—more than a playpiece, it’ s a...
As an affiliate, we earn on qualifying purchases.

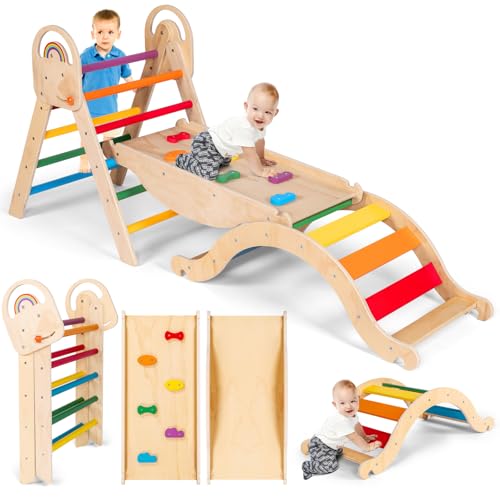
EDOSTORY 5 in 1 Pikler Triangle Set, Indoor Playground and Gym for Kids, Foldable Wooden Montessori Climbing Set Triangle Ladder Set with Slide and Climbing Ramp, Gift for Boys Girls(Rainbow)
【Designed For Toddlers】Our 5 in 1 Pikler Triangle Toys are specifically designed with toddlers in mind. The size,...
As an affiliate, we earn on qualifying purchases.