
When creating DIY accessories for ride-on toys, focus on safety and durability by choosing non-toxic, child-safe materials like sturdy plastics, soft fabrics, and water-based paints. Secure accessories firmly to prevent detachment and avoid small parts or sharp edges that could pose choking or injury risks. Measure carefully to make certain of a good fit and test different play scenarios. If you want tips on making fun yet safe accessories, keep exploring further.
Key Takeaways
- Use child-safe, non-toxic, durable materials like plastics, silicone, and washable fabrics for creating accessories.
- Ensure accessories have no sharp edges or small parts to prevent choking or injury hazards.
- Securely attach accessories with child-friendly fasteners, avoiding loose or heavy hardware that could detach.
- Measure carefully to prevent interference with the toy’s movement or controls during play.
- Regularly inspect accessories for wear and damage to maintain safety and stability over time.
Creating DIY accessories for ride-on toys is a fun and cost-effective way to personalize your child’s play experience. As you begin this project, safety considerations should be your top priority. You want to ensure that any accessory you create is safe for your child to use, which means paying close attention to material selection. Choose non-toxic, durable, and child-safe materials like high-quality plastics, soft fabrics, and non-toxic paints. Avoid materials that can splinter, break easily, or contain harmful chemicals, as these can pose risks during play. Think about the size and shape of your DIY accessories—nothing should have sharp edges or small parts that could become choking hazards. Always test your creations thoroughly before allowing your child to play with them, and consider using rounded edges or padding to minimize injury risks.
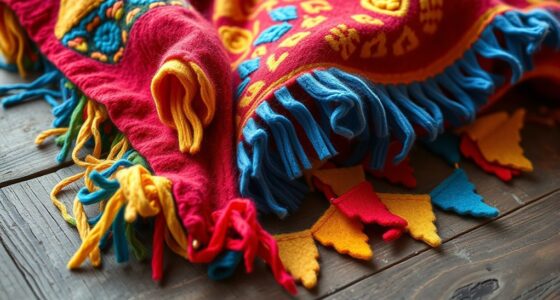
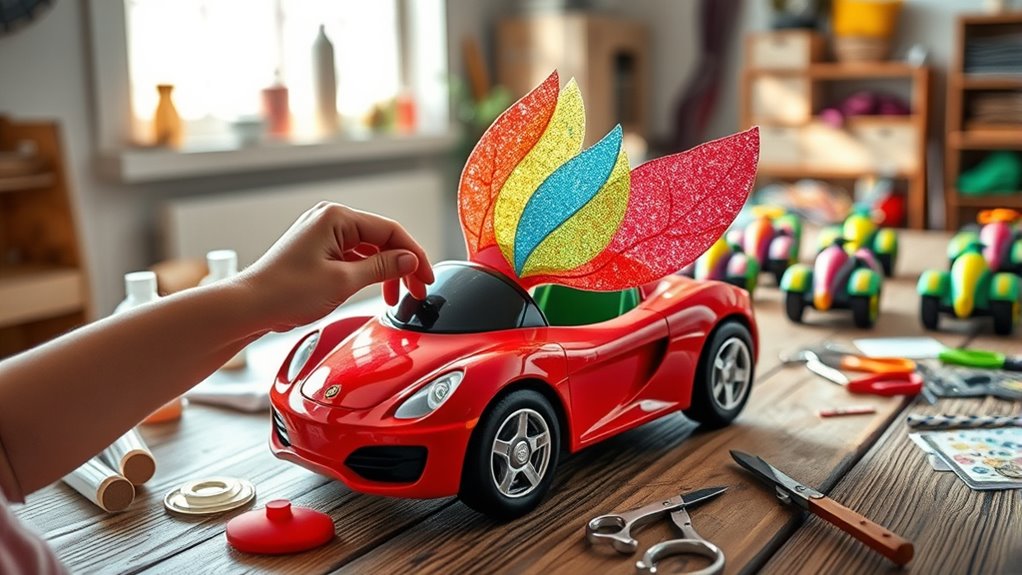
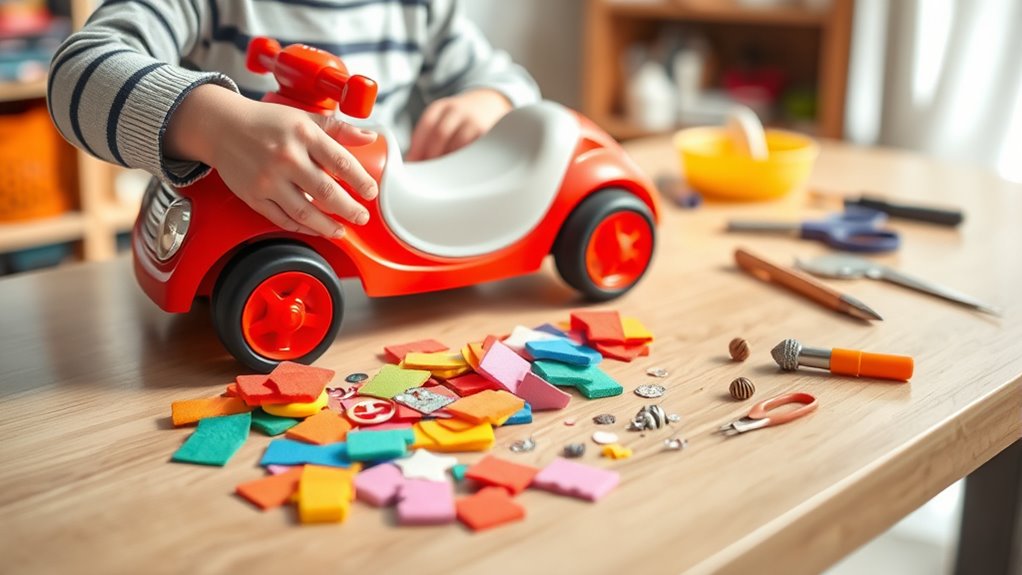
Material selection is vital when designing accessories that are both safe and long-lasting. For example, if you’re making a decorative item or a handle attachment, opt for sturdy plastics or silicone that can withstand rough play. For soft elements like cushions or decorative covers, use washable, non-toxic fabrics that won’t fray or shed fibers easily. When working with paints or adhesives, select products labeled as child-safe and non-toxic, ensuring they won’t cause harm if touched or mouthed. It’s also wise to avoid heavy or sharp hardware—like metal fasteners or screws—that could poke through or become loose over time. Instead, use secure, child-friendly fasteners such as snaps, Velcro, or plastic clips, which are easier to handle and reduce injury risks.
Planning ahead with safety considerations in mind helps streamline your project and guarantees the accessories you create are both fun and safe. Measure carefully to make sure parts fit well and don’t interfere with the toy’s operation. For example, if you’re adding a decorative horn or a steering wheel cover, make sure it doesn’t obstruct movement or controls. When attaching accessories, double-check that they’re firmly secured and won’t detach easily while your child is playing. If you’re adding embellishments like stickers or decals, use non-toxic adhesives and ensure they are applied smoothly to prevent peeling or choking hazards. Remember, the goal is to enhance your child’s play experience without compromising their safety. With thoughtful material selection and a focus on safety considerations, you can craft accessories that are both delightful and secure, giving your child a unique and personalized ride-on toy that sparks imagination while keeping safety at the forefront.
child-safe ride-on toy accessories
As an affiliate, we earn on qualifying purchases.
As an affiliate, we earn on qualifying purchases.
Frequently Asked Questions
Are DIY Accessories Safe for All Ride-On Toy Models?
DIY accessories aren’t safe for all ride-on toy models unless you prioritize toy safety and material safety. You should check the toy’s specifications and manufacturer guidelines first. Use non-toxic, durable materials that won’t break easily or cause harm. Always test your accessories for stability and safety before allowing children to play. When in doubt, consult with the toy manufacturer or opt for accessories designed specifically for your ride-on toy to guarantee safety.
What Tools Are Needed to Create DIY Ride-On Accessories?
You’ll need basic tools like scissors, glue, and a screwdriver for DIY ride-on accessories. Start by preparing your tools carefully, ensuring they’re clean and in good condition. Always follow safety precautions—wear protective gear, work in a well-ventilated space, and keep tools away from children. Proper preparation makes the process smoother and safer, helping you create fun, durable accessories that enhance your child’s ride-on experience.
How Can I Personalize Accessories for My Child’s Preferences?
You can personalize accessories by exploring various customization options that match your child’s preferences. Use bright colors, themed decals, or stickers that reflect their favorite characters or hobbies. Consider adding their name with simple paint or adhesive letters. You might also incorporate their favorite patterns or textures. By tailoring these elements, you guarantee the accessories resonate with your child’s unique tastes, making playtime even more enjoyable and special for them.
Are There Recommended Materials for Durability and Safety?
For durability and safety, you should choose suitable fabric choices like reinforced cotton or nylon for accessories, which withstand wear and tear. In a case where a parent used non-toxic paints on a custom ride-on toy, the paint was safe for children and didn’t chip easily. Always prioritize non-toxic paints and sturdy fabrics to guarantee your DIY accessories are both safe and long-lasting for your child’s play.
How Do I Attach Accessories Securely Without Damaging the Toy?
You can attach accessories securely by using safe attachment methods like velcro, snap buttons, or non-toxic adhesives designed for toys. Avoid using nails or staples, as they can damage the toy and pose safety risks. Always guarantee the attachment methods won’t compromise toy safety, and test the accessories regularly for stability. This way, your DIY additions stay secure and safe for your child to enjoy.
DIY ride-on toy safety gear
As an affiliate, we earn on qualifying purchases.
As an affiliate, we earn on qualifying purchases.
Conclusion
Just like a master craftsman from the tales of old, you now have the tools to personalize your child’s ride-on toy. With a little creativity and effort, you can transform a simple ride into a magical adventure, echoing the ingenuity of those legendary inventors. So go ahead—embark on this DIY journey, and watch as your imagination brings your child’s playtime to life, making every ride a story worth sharing.
non-toxic plastic toy attachments
As an affiliate, we earn on qualifying purchases.
As an affiliate, we earn on qualifying purchases.
water-based paint for children's toys
As an affiliate, we earn on qualifying purchases.
As an affiliate, we earn on qualifying purchases.