
To create a ride-on track with turns, you’ll need to measure angles accurately using tools like a protractor or digital angle finder. Sketch your layout first, marking each turn’s position and angle, then build according to those measurements for smooth, safe curves. During construction, double-check angles and adjust as needed for safety and excitement. When you get the details right, your track will be both fun and secure—more tips await as you continue.
Key Takeaways
- Plan the track layout by sketching turns and marking their angles with a protractor or digital tool.
- Use precise measuring tools during construction to ensure track sections match planned angles accurately.
- Adjust curve angles during testing to balance thrill, safety, and smoothness of the ride.
- Verify each turn’s angle on the actual track to prevent gaps or uneven bends that could affect stability.
- Incorporate safety considerations and surface cushioning to enhance rider comfort and overall ride experience.

Have you ever wondered how to design a fun and safe ride-on track with smooth turns and accurate angles? The key lies in understanding the fundamentals of track design and mastering angle measurement. When creating a track, your goal is to ensure that each turn is both exciting and secure, which starts with precise angle calculation. Accurate angle measurement helps you determine how sharp or gentle each curve should be, influencing how the ride feels and how safe it is for users. Using tools like a protractor or a digital angle finder, you can measure angles directly on your design plans or even on the ground as you build. This guarantees that each turn aligns perfectly with your initial vision, avoiding abrupt or awkward bends that could cause riders to lose control.
Accurate angle measurement ensures safe, smooth, and exciting ride-on track turns.
In track design, every detail counts. When planning the layout, sketch out the entire route first, marking where each turn will go. As you do this, focus on the angles involved. For example, a 90-degree turn creates a sharp corner that might be thrilling but could also challenge riders’ stability. Conversely, a 30 or 45-degree bend offers a smoother, more gentle transition, making the ride safer and more comfortable. By carefully measuring and adjusting these angles during the planning phase, you can strike a balance between excitement and safety. Remember, the correct angle measurement isn’t just about aesthetics; it directly impacts how smoothly the ride progresses and how well the turn supports the vehicle’s stability. Additionally, understanding how to measure and apply these angles accurately can help you replicate professional track designs and enhance overall safety.
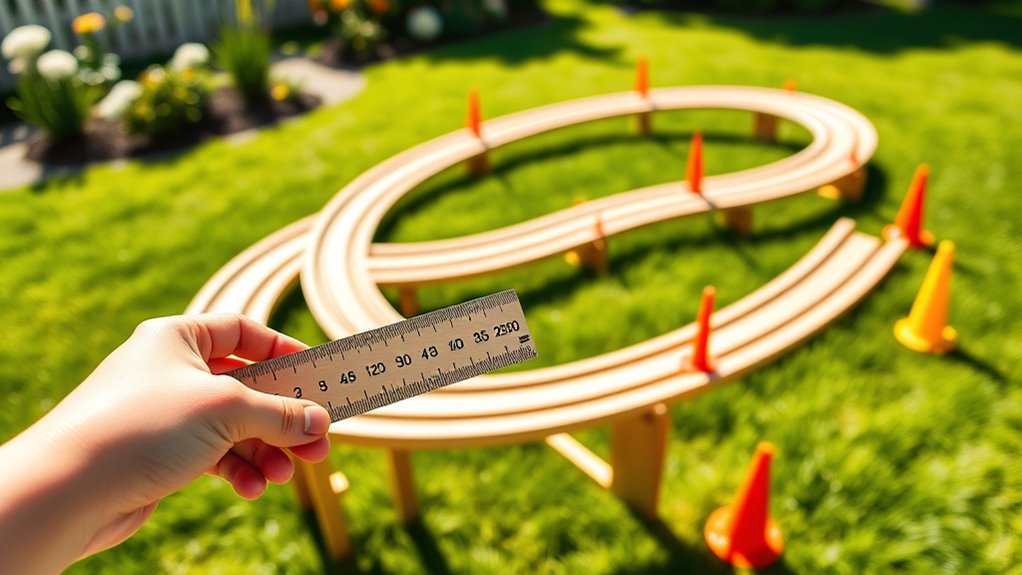
As you move from planning to actual track construction, always double-check your measurements. Use a folding ruler or a measuring tape along with your angle tools to verify the curves. When cutting or positioning sections of the track, ensure that the angles match your measurements exactly. Small discrepancies can lead to uneven turns or gaps, which may cause accidents or discomfort. It’s also helpful to test the track with a ride-on vehicle to see how the angles feel in real life. If a turn feels too sharp or too loose, adjust the track’s curvature accordingly, keeping in mind that proper angle measurement during the design phase simplifies these modifications later.
Ultimately, creating a ride-on track with turns involves a thoughtful combination of precise angle measurement and careful track design. By paying attention to the angles you choose and verifying every measurement, you ensure a smooth, thrilling, and safe ride experience. This process demands accuracy and attention to detail, but it rewards you with a well-crafted track that kids will love to navigate. With a solid understanding of how to measure and implement angles correctly, you’ll be well on your way to building a fun, safe, and expertly designed ride-on track. Remember that considering cushioning and surface texture can also improve safety and comfort during use.
Frequently Asked Questions
What Materials Are Best for Building a Durable Ride-On Track?
You should use sturdy materials like plywood or thick plastic for the track surface to guarantee durability and smooth riding. For structural support, choose treated wood or metal beams that can withstand weight and weather conditions. These materials provide a solid foundation and a long-lasting track. Make sure the surface is even and securely attached to the supports, so the ride-on stays safe and fun for everyday use.
How Can I Ensure Safety While Constructing Turns and Measuring Angles?
Isn’t safety the top priority when constructing turns and measuring angles? You should always wear safety gear like helmets and gloves to protect yourself. Double-check measurements and angles before building to avoid surprises. Have clear emergency procedures in place, such as knowing how to quickly turn off equipment or evacuate. Staying attentive and cautious minimizes accidents, ensuring your ride-on track remains safe and enjoyable for everyone.
Are There Tools Recommended for Precise Angle Measurement?
You should use angle finders and protractors for precise angle measurement. Angle finders are great for quickly measuring and replicating angles on your ride-on track, ensuring turns are accurate. Protractors provide detailed readings, helping you set exact angles for safety and performance. Combining these tools allows you to achieve consistent, accurate measurements, making your track safer and more enjoyable for riders.
How Do Weather Conditions Affect the Track’s Design and Stability?
Weather impact can turn your smooth ride into a roller coaster of chaos. Rain, snow, or heat can weaken track durability, causing warping or cracking. You’ll need to account for these conditions in your design, choosing weather-resistant materials and proper drainage. Ignoring weather effects risks costly repairs and unsafe turns, so plan smartly to make certain your track stays stable and fun, no matter what Mother Nature throws your way.
Can This Track Design Be Scaled for Different Vehicle Sizes?
Yes, you can scale this track design for different vehicle sizes using effective scaling techniques. Adjust the track’s dimensions proportionally to maintain vehicle compatibility, ensuring turns and straightaways suit each vehicle’s turning radius and size. By carefully applying these techniques, you preserve the design’s integrity and safety across various vehicle types, making your track versatile and suitable for a range of ride-on vehicles.
Conclusion
Now that you’ve built your ride-on track with turns and measured those tricky angles, you’ve crafted a miniature world of adventure. Think of it as a map of possibilities, where every twist and turn sparks imagination. With your newfound skills, you can design even more exciting tracks or improve your current one. Remember, building is like planting a seed—watch your creativity grow and turn your ideas into a thrilling ride everyone will enjoy.