
When building simple circuits for ride-on accessories, follow safety guidelines and use components rated for your project’s voltage and current. Use clear wiring diagrams, secure all connections with solder or connectors, and double-check with a multimeter before powering up. Keep wires neat and organized to prevent short circuits or disconnections. Prioritize battery safety by avoiding mixing old and new batteries. Continue exploring to learn more about creating safe, reliable circuits for your ride-on accessories.
Key Takeaways
- Use appropriate batteries rated for the accessory’s voltage and current to ensure safety and reliable operation.
- Follow detailed wiring diagrams with color-coded wires to connect switches, batteries, and accessories correctly.
- Secure all connections with solder or high-quality connectors to prevent disconnections during use.
- Test circuits with a multimeter before powering to verify proper wiring and detect faults.
- Keep wiring neat, organized, and insulated to prevent short circuits and ensure safety during ride-on accessory operation.
Creating your own ride-on accessories can be a fun and rewarding project, especially when you understand how to build simple circuits. Before diving into wiring, it’s essential to prioritize battery safety. Batteries power your accessories, but mishandling or improper connections can lead to dangerous situations like short circuits, overheating, or even fires. Always use batteries rated for your project’s voltage and current needs, and handle them with care. Make sure to read the manufacturer’s safety instructions, avoid mixing old and new batteries, and never leave batteries charging unattended. Properly securing batteries in waterproof or insulated compartments helps prevent accidental damage or short circuits, contributing to overall safety.
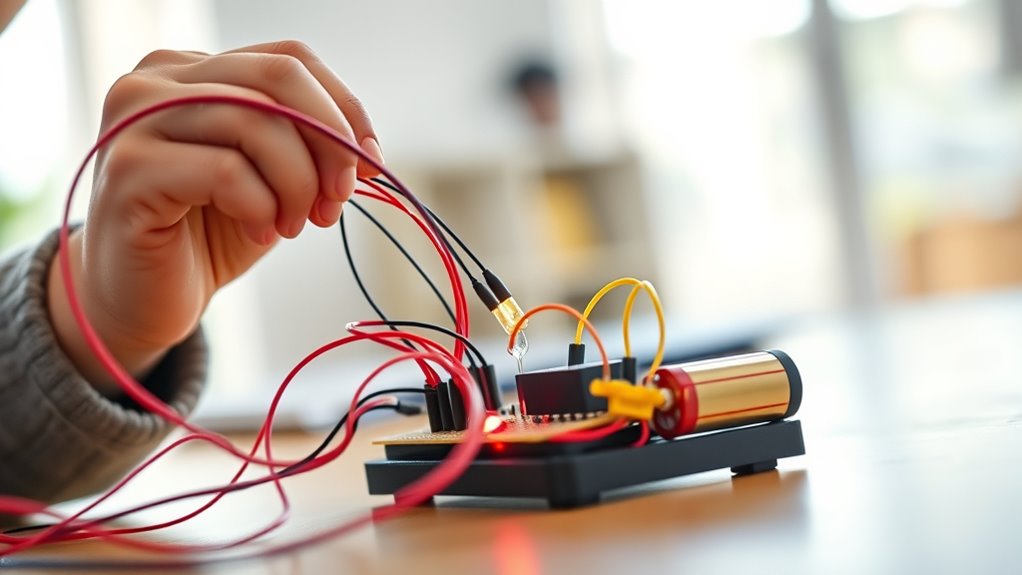
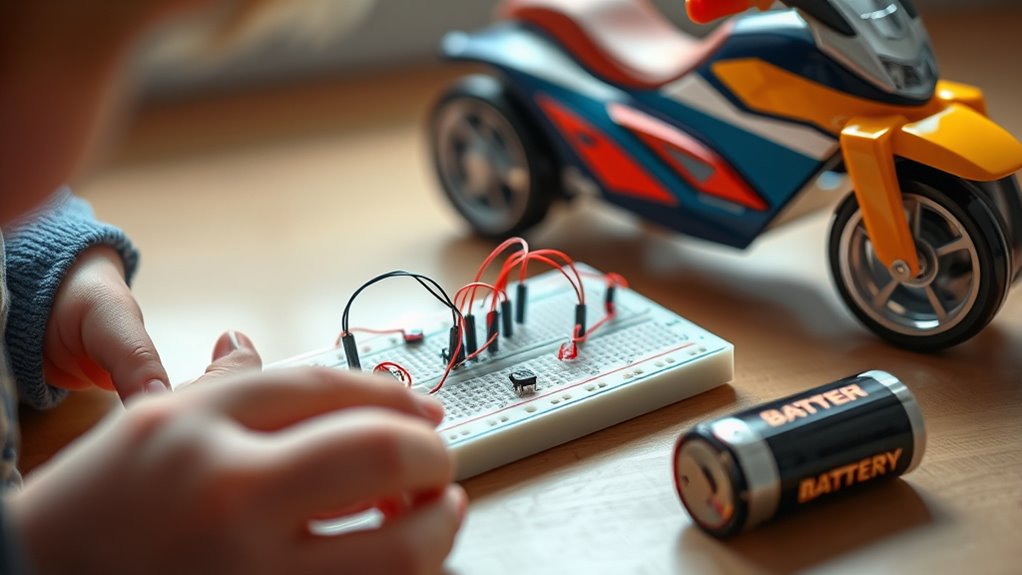
Once you’ve addressed battery safety, the next step is understanding wiring diagrams. These diagrams are your roadmap, guiding you through how components connect and ensuring your circuit functions correctly. When building simple circuits, keep your wiring neat and organized. Use color-coded wires—red for positive, black for negative—to reduce confusion and prevent incorrect connections. Follow the wiring diagram closely, double-checking each connection before powering up. This reduces the chances of damaging components or creating unsafe conditions. If you’re new to circuit diagrams, start with a basic schematic showing how a switch, battery, and light or motor connect. As you get more comfortable, you can add more complex elements like sensors or switches.
Understanding wiring diagrams helps keep your circuits organized and safe.
When wiring, secure your connections with solder or high-quality connectors to ensure they don’t come loose during operation. Avoid crossing wires or creating tangled messes that can be difficult to troubleshoot later. Using a multimeter to test continuity and voltage at various points in your circuit can help you verify correct wiring before powering everything up. Remember, never work on your circuit while the battery is connected, unless you’re actively testing, to avoid accidental shorts or shocks. Incorporating mindfulness into your workspace can help you stay focused and attentive during the wiring process, reducing errors and enhancing safety.
Building simple circuits for ride-on accessories isn’t just about connecting components—it’s about doing so safely and accurately. Proper battery safety practices protect you and your project, while thorough understanding of wiring diagrams keeps your circuits reliable. Take your time, follow diagrams carefully, and always double-check your connections. With patience and attention to detail, you’ll create custom ride-on accessories that are both fun and safe to use. As you gain experience, you’ll be able to experiment with more advanced circuits, making your ride-on toys truly unique and tailored to your ideas.

BUMPKAI 24 Volt DIY Wires Harness Conversion Kit for Kid's Ride On Toys Car,2.4G Set of Wire Harness Switch Control Box for Power Wheels Upgrade Replacement Parts,12V&18V&20V
12 Volt,18 Volt,20 Volt,24 Volt 40A High-Power DIY 2.4G Wire Harness Conversion Kit for Kid's Ride On Toys…
As an affiliate, we earn on qualifying purchases.
As an affiliate, we earn on qualifying purchases.
Frequently Asked Questions
What Safety Precautions Should I Take When Building Circuits?
When building circuits, you should always wear safety gear like gloves and goggles to protect yourself. Make certain electrical insulation by using insulated wires and tools to prevent shocks. Work in a dry, well-lit area, and double-check your connections before powering up the circuit. Remember to disconnect power when making adjustments and keep water away from your workspace. These precautions keep you safe while creating your ride-on accessory circuits.
Can I Use Alternative Power Sources for These Circuits?
Think of your circuit as a bridge, and the power source as its foundation. Yes, you can use alternative power sources for your circuits, like batteries, solar panels, or DC adapters, expanding your power source options. Just guarantee these alternatives match the voltage and current requirements, and always verify compatibility. Using diverse power sources can make your ride-on accessories more versatile and eco-friendly, sparking your creativity.
How Do I Troubleshoot Common Circuit Problems?
To troubleshoot common issues in your circuits, start by checking connections for loose or broken wires, as they often cause problems. Use a multimeter to test voltage and continuity, ensuring power flows correctly. Look for signs of burnt components or corrosion, which can disrupt circuit function. If something isn’t working, systematically isolate sections to identify faults. Troubleshooting circuit problems quickly helps you get your ride-on accessories back in action.
What Tools Are Essential for Circuit Assembly?
You’ll need essential tools like a soldering iron and solder to guarantee secure connections, along with wire strippers and pliers for handling components. A multimeter helps you test circuits, while a breadboard is great for prototyping. Mastering soldering techniques ensures clean, reliable joints. Plus, keeping a circuit diagramming tool handy helps you plan and troubleshoot your designs effectively, making assembly smoother and more accurate.
Are There Beginner-Friendly Kits Available for These Projects?
A stitch in time saves nine, so yes, there are beginner-friendly kits perfect for your projects. Starter kits come with all the components you need, making it easy to learn and build simple circuits for ride-on accessories. These kits are designed for beginners, providing step-by-step instructions to help you gain confidence. With these, you can quickly immerse yourself in your projects and enjoy the learning process without feeling overwhelmed.

SafeAMP® Replacement Battery for 12-Volt Ride On Vehicle with red 2 pins Connector
[Compatibility] Please make sure your ride on toy have the 2 pins red connector as shown in picture…
As an affiliate, we earn on qualifying purchases.
As an affiliate, we earn on qualifying purchases.
Conclusion
Now, imagine your ride-on toy coming to life with your own custom circuits, sparks flickering like tiny fireworks beneath the surface. As you connect wires and flip switches, you create a world of endless possibilities, transforming a simple toy into a shining masterpiece. With each completed circuit, you’re not just building accessories—you’re igniting your creativity and bringing your imagination to vivid, electric life. The thrill of your DIY adventure is just a spark away.

AstroAI Digital Multimeter Tester 2000 Counts with DC AC Voltmeter and Ohm Volt Amp Meter; Measures Voltage, Current, Resistance, Continuity and Diode, Blue
Additional Tips – The following incorrect operations may cause the multimeter not to show results: Firstly, the plugs…
As an affiliate, we earn on qualifying purchases.
As an affiliate, we earn on qualifying purchases.
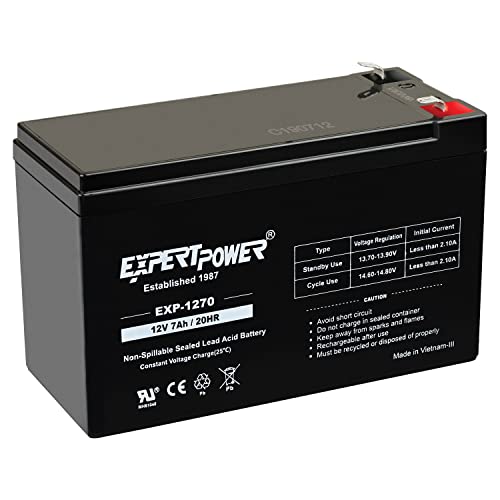
ExpertPower 12V 7Ah – SLA Rechargeable 12V Battery for Ride-On Toys, Alarm System, UPS, EPS, Feeder, Exit Sign, Small 12 Volt Battery for Kids Car, Sealed Lead Acid Fire Alarm Batteries
Universal Compatibility: Works with alarm systems, security devices, UPS, kids ride-on cars. 12V7Ah/20HR rechargeable battery replaces 1270 batteries,…
As an affiliate, we earn on qualifying purchases.
As an affiliate, we earn on qualifying purchases.