Building a DIY ramp outdoors allows you to explore key physics concepts like gravity, acceleration, and friction firsthand. You can use simple materials such as wood or plastic to create a slope, then test how objects of different weights and surface types move down it. Adjusting the ramp’s angle or surface helps you see how gravity and friction affect speed and motion. Keep exploring these ideas to discover even more about how physics works in everyday situations.
Key Takeaways
- Use readily available materials like wood or plastic to construct a stable inclined plane outdoors.
- Adjust the ramp’s angle to observe how slope steepness affects object acceleration and speed.
- Incorporate various surface textures to study the impact of friction on sliding objects.
- Measure the time objects take to reach the bottom to analyze gravitational acceleration and frictional effects.
- Experiment with different object masses and materials to demonstrate physics principles like gravity and friction.
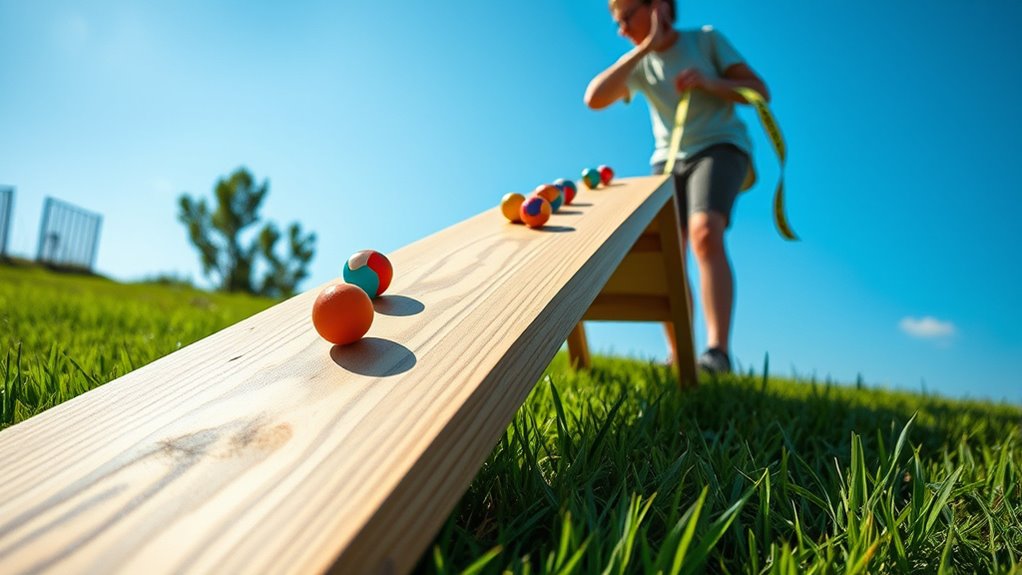
Building a DIY ramp is a fun and effective way to explore basic physics principles like gravity, acceleration, and friction. When you set up your ramp outdoors, you create an ideal environment to observe how objects behave under different forces. One of the core concepts you’ll encounter is gravitational acceleration, which explains how quickly objects speed up as they slide down the incline. As you release objects from the top, you’ll notice that they accelerate at a rate influenced by gravity, but this rate can vary depending on other factors.
Building a DIY ramp helps explore gravity, acceleration, and friction through outdoor physics experiments.
Friction effects are equally important to understand during your experiments. As an object moves down the ramp, friction acts as a resistive force that slows it down. By changing the surface of your ramp—perhaps using wood, plastic, or rougher materials—you can observe how different friction coefficients impact the acceleration of your objects. When the surface is smoother, friction effects are minimized, allowing objects to slide faster and more freely. Conversely, rougher surfaces increase friction, reducing the speed and acceleration.
To get a clear picture of how gravitational acceleration influences motion, you might start by measuring how long it takes objects of different weights to reach the bottom of your ramp. You’ll see that, ideally, objects of different masses accelerate similarly if friction effects are minimal, illustrating the principle that all objects fall at the same rate in a gravitational field, regardless of mass. However, if friction varies with surface material or object shape, it can alter these results, giving you a hands-on understanding of how friction influences acceleration.
Another experiment you can try involves adjusting the angle of your ramp. A steeper incline increases the component of gravity acting along the surface, speeding up the objects. This change highlights how gravitational acceleration remains constant, but the effective force pulling objects down depends on the incline angle. You’ll notice that at steeper angles, friction effects become more apparent because objects gain more speed, and the surface’s grip can markedly influence their motion. Additionally, understanding how surface material impacts friction provides deeper insight into how different surfaces interact with moving objects.
Fun Express STEM Motion & Friction Science Kit for Kids Age 5-12 – 21 Piece Educational Learning Resources with Wooden Ramp | Physics Engineering Toys for Classroom & Homeschool Experiments
Complete physics learning kit: Explore motion and friction concepts with 21 high-quality pieces including adjustable wooden ramp, test…
As an affiliate, we earn on qualifying purchases.
As an affiliate, we earn on qualifying purchases.
Frequently Asked Questions
How Safe Is It to Use the DIY Ramp Outdoors?
The safety of your DIY outdoor ramp depends on proper safety precautions and thorough risk assessment. You should check the ramp’s stability, avoid uneven surfaces, and verify it’s securely anchored. Wear protective gear, supervise children, and inspect the ramp regularly for damage. By taking these steps, you reduce risks and make outdoor physics exploration safer for everyone involved. Always prioritize safety to prevent accidents and injuries.
Can I Customize the Ramp’s Incline for Different Experiments?
You can customize the ramp’s incline for experiment flexibility by adding an adjustable incline mechanism. This allows you to precisely control the angle, making your experiments more versatile and varied. With an adjustable incline, you can explore different physics principles, test objects at various slopes, and enhance your outdoor learning experience. So, go ahead—tweak the tilt and tune your experiments to uncover even more fascinating physics phenomena!
What Materials Are Best for Weather Resistance?
You should choose weather-resistant materials like treated wood or plastic to safeguard against damage outdoors. Use weatherproof paint to protect the surface and keep it smooth for experiments. Additionally, opt for corrosion-resistant hardware, such as stainless steel or galvanized nails and bolts, to ensure durability against rain and moisture. These materials will help your ramp withstand the elements, making it safer and more reliable for outdoor physics exploration.
How Do I Store the Ramp When Not in Use?
When you’re done exploring, you should store your ramp in a dry, sheltered spot to prevent weather damage. Opt for storage solutions that match its portable design, like leaning it against a wall or using a storage rack. If possible, disassemble it for easier handling and to save space. Keeping it covered with a tarp also helps protect it from rain and UV rays, ensuring your ramp stays in great shape for future experiments.
Is There a Weight Limit for Objects on the Ramp?
Yes, there is a weight limit for objects on your ramp. It depends on the material durability and the ramp’s construction. Typically, a sturdy wooden or metal ramp can handle several dozen pounds, but you should check the specific weight capacity provided by the material or construction guidelines. Avoid exceeding this limit to prevent damage or accidents, ensuring your ramp remains safe and functional for all experiments.

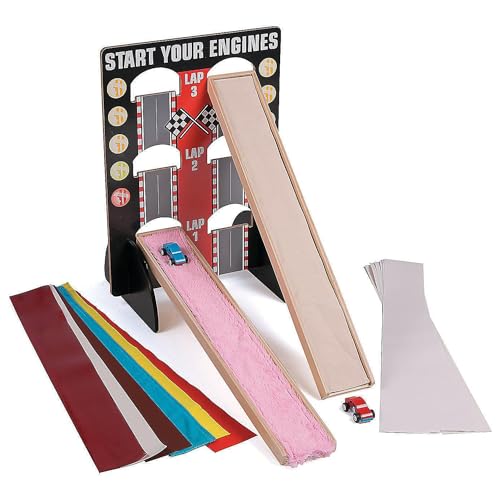
Teyva Daily 3 Pcs Inclined Plane Physics Teaching Kit – Simple Machines Classroom Teaching Tool with Dynamics Car and Wooden Block for Stem Science Lab Demonstration
3 Pcs Inclined Plane Physics Kit: our inclined plane set makes core physics concepts tangible; The kit includes…
As an affiliate, we earn on qualifying purchases.
As an affiliate, we earn on qualifying purchases.
Conclusion
Now that your DIY ramp is ready, you’re holding a tiny universe in your hands—an open book of physics waiting to be read. With each roll, you become a curious explorer, unraveling the secrets of motion and energy. Think of this ramp as your launchpad into discovery, where simple materials transform into a playground of knowledge. So, take the plunge, and watch as science unfolds before your eyes, turning everyday objects into gateways of wonder.
Fun Express STEM Motion & Friction Science Kit for Kids Age 5-12 – 21 Piece Educational Learning Resources with Wooden Ramp | Physics Engineering Toys for Classroom & Homeschool Experiments
Complete physics learning kit: Explore motion and friction concepts with 21 high-quality pieces including adjustable wooden ramp, test…
As an affiliate, we earn on qualifying purchases.
As an affiliate, we earn on qualifying purchases.

Real Outdoor Science Experiments: 25+ Exciting STEAM Activities for Kids
As an affiliate, we earn on qualifying purchases.
As an affiliate, we earn on qualifying purchases.