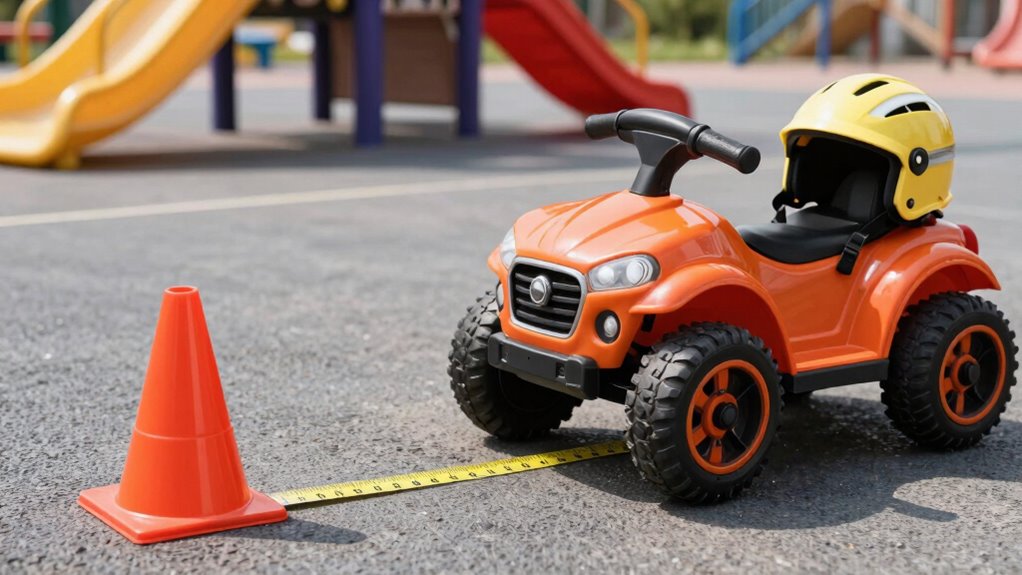

To measure safe braking distance on kid vehicles, find a flat, obstacle-free space and wear protective gear. Position the vehicle at a set starting point, then gently release it or accelerate slightly before applying firm, consistent brakes. Use ground markings or a tape measure to record how far the vehicle travels before stopping. Repeat this several times for accuracy, then calculate the average. Following these steps helps guarantee the vehicle’s stopping distance is safe for your child—continue to learn more about achieving safety.
Key Takeaways
- Select a flat, obstacle-free area and position the vehicle at a designated starting point for consistent testing.
- Ensure the vehicle is stationary, then gradually apply brakes with steady force during each trial.
- Use ground markings or a measuring tape to accurately record the stopping distance from brake application to complete stop.
- Conduct multiple tests and calculate the average stopping distance for reliable assessment.
- Regularly check and maintain brakes and tires to ensure consistent performance and safe braking measurements.
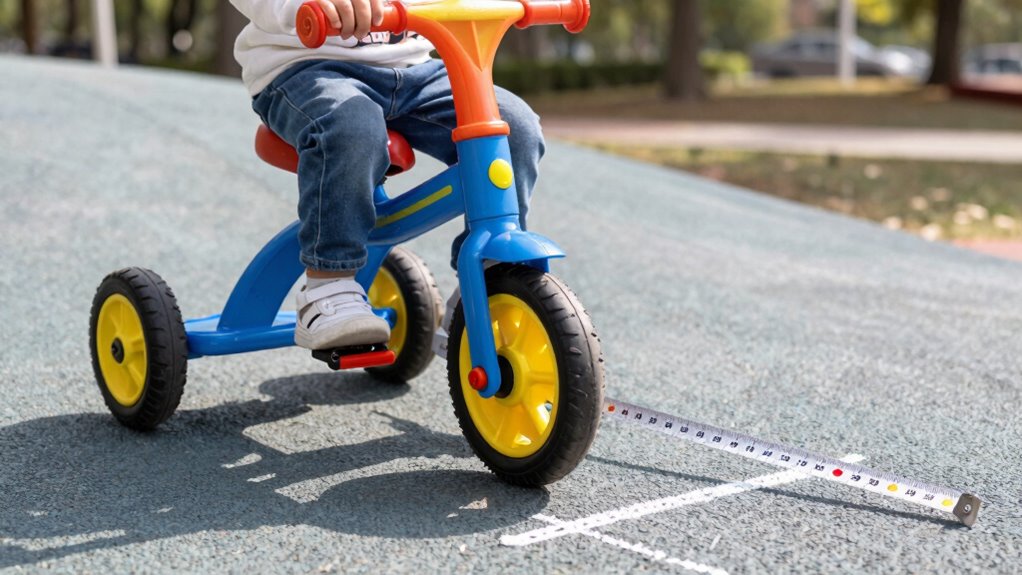
Understanding how to measure safe braking distance on kid vehicles is essential for guaranteeing your child’s safety during play. When you’re overseeing your child’s fun, you want to make sure they can stop safely if they suddenly need to. The key is to determine how far the vehicle travels from the moment the brakes are applied until it comes to a complete stop. This measurement helps you assess whether the vehicle is suitable for your child’s age and skill level, and it emphasizes the importance of maintaining safe play environments.
Measuring braking distance ensures your child’s safety and helps you choose suitable, well-maintained kid vehicles for safe play.
To start, you should choose a flat, open space free of obstacles for testing. Put on any necessary protective gear, and verify the vehicle is in good condition—this is where regular vehicle maintenance comes into play. Check the brakes, tires, and overall functionality before beginning. The goal is to get an accurate reading of how the vehicle performs under normal conditions, so you can identify any issues that might compromise safety.
Once everything is ready, position the vehicle at a set starting point, and instruct your child to hold the vehicle steady or, if safe and appropriate, gently release it from a standstill. You’ll then press the brakes with a firm, consistent force, simulating a real-world emergency stop. Use a measuring tape or a marked distance on the ground to record the distance traveled from the moment you start braking to when the vehicle comes to a complete stop. Repeat this process a few times to get an average distance, which provides a reliable measure of the vehicle’s stopping capability.
The measurements you gather give you a practical understanding of the vehicle’s braking performance. If the stopping distance is too long relative to your child’s age and skill level, it’s a sign to think about modifications or choose a different vehicle. Remember, child safety isn’t just about what the vehicle can do but also about ongoing vehicle maintenance. Regularly inspecting and maintaining the brakes and other components ensures consistent performance, and understanding the importance of braking distance can help you make informed safety choices. Neglecting vehicle maintenance can lead to longer braking distances and increased risk of accidents. Additionally, keeping vehicle components in good condition is crucial for maintaining optimal safety performance. A thorough understanding of vehicle safety features can further enhance your ability to select and maintain the safest options for your child’s play. Regularly checking brake systems and understanding their role in stopping performance is vital for ensuring your child’s safety. Proper maintenance of these components can significantly reduce stopping distances and improve overall safety.
kids ride-on vehicle brake tester
As an affiliate, we earn on qualifying purchases.
As an affiliate, we earn on qualifying purchases.
Frequently Asked Questions
What Safety Equipment Should Kids Wear When Testing Braking Distance?
When testing braking distance, you should guarantee kids wear helmet safety to protect their heads and proper footwear to prevent slipping or injury. Helmets are essential for head safety, especially during sudden stops. Proper footwear, like closed-toe shoes with good grip, helps kids maintain control and avoid accidents. Always make sure they’re dressed appropriately to stay safe and comfortable during testing, reducing the risk of injury from falls or collisions.
How Often Should Braking Distance Tests Be Conducted for Safety?
You should regularly check braking distance to keep kids safe, ideally conducting tests every few months or after any vehicle maintenance. This helps you guarantee their braking technique remains effective and the vehicle stays in top shape. Frequent testing allows you to spot wear and tear early, making necessary adjustments. Consistent checks build confidence, so kids can enjoy their rides safely while you stay proactive in maintaining their vehicle’s performance.
Are There Specific Weather Conditions That Affect Braking Distance?
Weather impact and road conditions greatly influence braking distance. Wet, icy, or snowy surfaces diminish traction, making it harder to stop quickly. Rain and moisture can cause skidding, while rough or uneven terrain increases stopping time. Always check current weather conditions before use, and make sure your kid vehicle is suited for those conditions. Adjust your speed accordingly, and maintain a safe distance to account for longer braking distances in adverse weather.
How Do Different Terrains Impact Braking Performance on Kid Vehicles?
You’ll find that terrain variability and surface traction are your biggest foes when braking on kid vehicles. Smooth asphalt offers good grip, making stopping easier, while gravel or wet surfaces drastically reduce traction, increasing stopping distances. So, when maneuvering uneven terrains or slippery surfaces, you better anticipate longer braking distances. Your little adventurer’s safety depends on understanding how different terrains impact braking performance—because stopping on a dime isn’t always an option.
What Are Common Mistakes to Avoid During Braking Distance Measurement?
You should avoid common mistakes like inconsistent braking techniques, which can skew measurements, and neglecting vehicle maintenance, such as checking brake functionality before testing. Always use a steady, controlled braking technique to guarantee accurate results. Regularly inspect the vehicle’s brakes and tires to prevent malfunctions. By maintaining proper vehicle condition and applying consistent braking methods, you’ll get reliable measurements of safe braking distances, enhancing safety during use.
Conclusion
By understanding how to measure safe braking distance, you guarantee your child’s safety, build their confidence, and promote responsible riding. You check the speed, assess the terrain, and test the brakes regularly. You stay vigilant, stay informed, and stay proactive. Because safety isn’t a one-time task; it’s a continuous process. When you prioritize these steps, you create a safe environment, encourage independence, and give your child the freedom to enjoy their rides confidently.